
You might’ve seen the news that Microsoft began rolling out the update for Xbox mode to everyone’s Windows PCs this week. You might’ve also seen that just because the announcement was official, and even if you installed the required update, the feature might not be available to you just yet.
Well, if you’ve got the update and don’t feel like waiting for Microsoft to give you the go-ahead, you can force your system to give you Xbox mode right now. Here’s exactly how to do that.
Give me Xbox mode
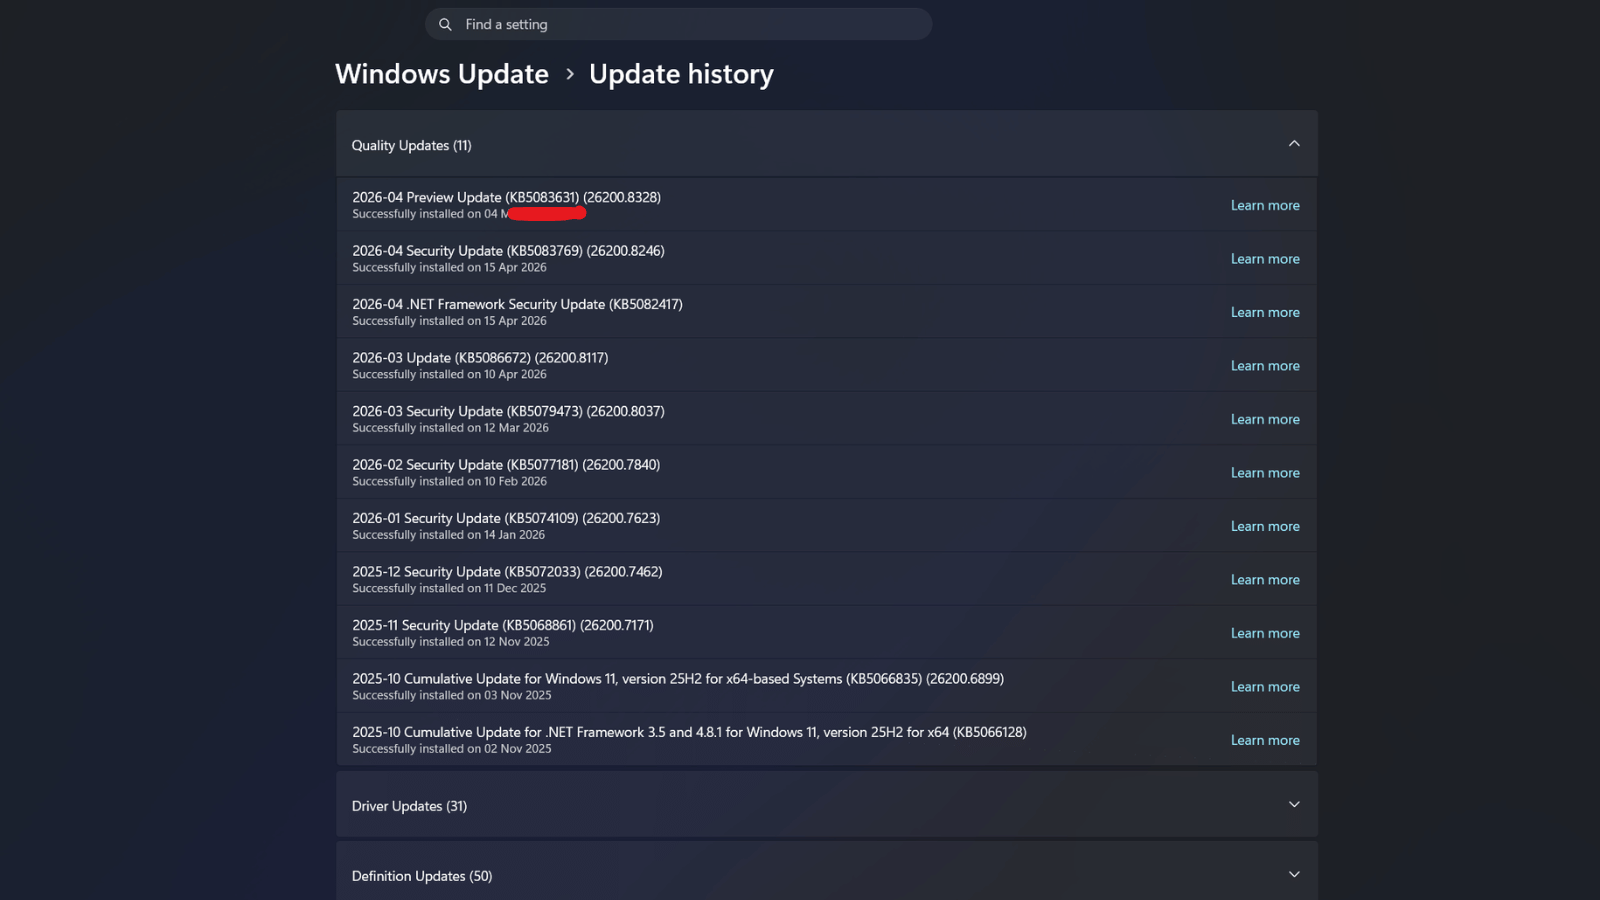
Before we go any further, you need to know what you’re signing up for. See, if you’ve got the update (KB5083631), then you already have the feature on your PC, it just hasn’t been flagged as ‘enabled’ yet by Microsoft. But there’s a way to manually change that. There are a few ways to do that, but we’ll be sticking with the easiest option that doesn’t involve the terminal.
First, check to make sure you’ve installed the update. Head to Settings (Windows key + I) and then click on Windows Update from the menu on the left. If you don’t have any updates pending, click on Update history and look for the update in question. It should be near the top.
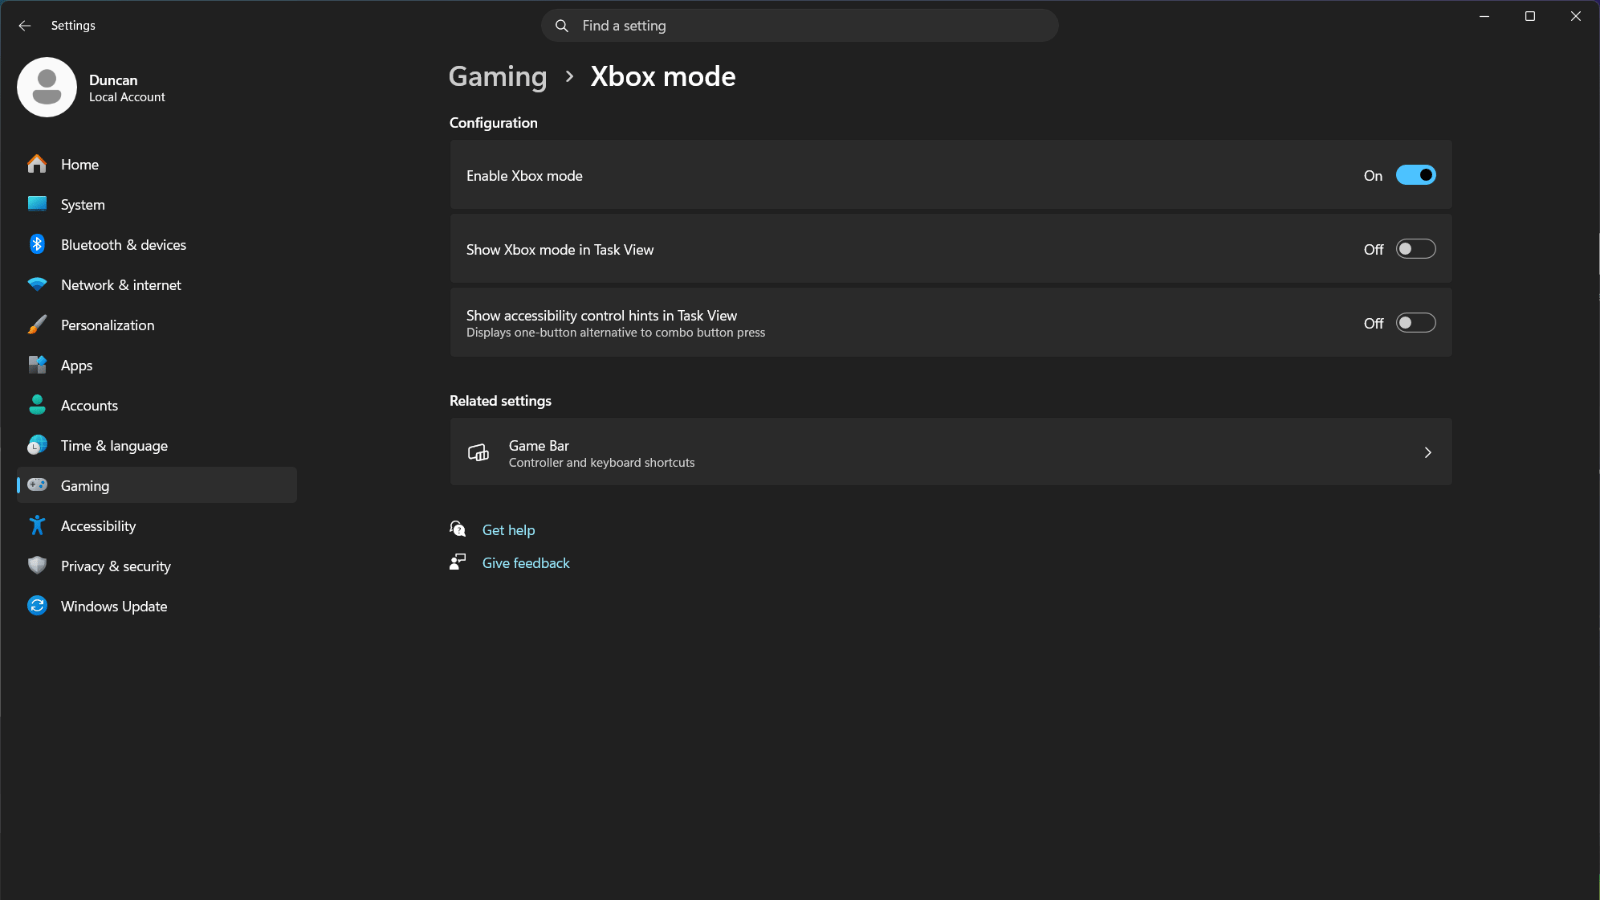
Once you’ve confirmed you’ve got it, it’s also worth checking if you can enable it the super-easy way. Still in Settings, click on Gaming in the menu on the left. If you’re one of the lucky ones, you should see an option titled Xbox mode, or something similar. If you only see Game Bar, Captures, and Game Mode, read on.
The next step involves downloading a tool from the Microsoft Store, but before we do that, it’s probably a good idea to back up any important documents on your PC and create a restore point. More info on that here.
This is because the feature is on your PC, but in order to manually enable it, you’ll be working with feature IDs. Mucking those up can cause system instability, throw up scary-looking errors, or just crash the whole thing. You’ve been warned.
Read More: Xbox cuts Game Pass prices effective immediately, drops day-one Call of Duty launches
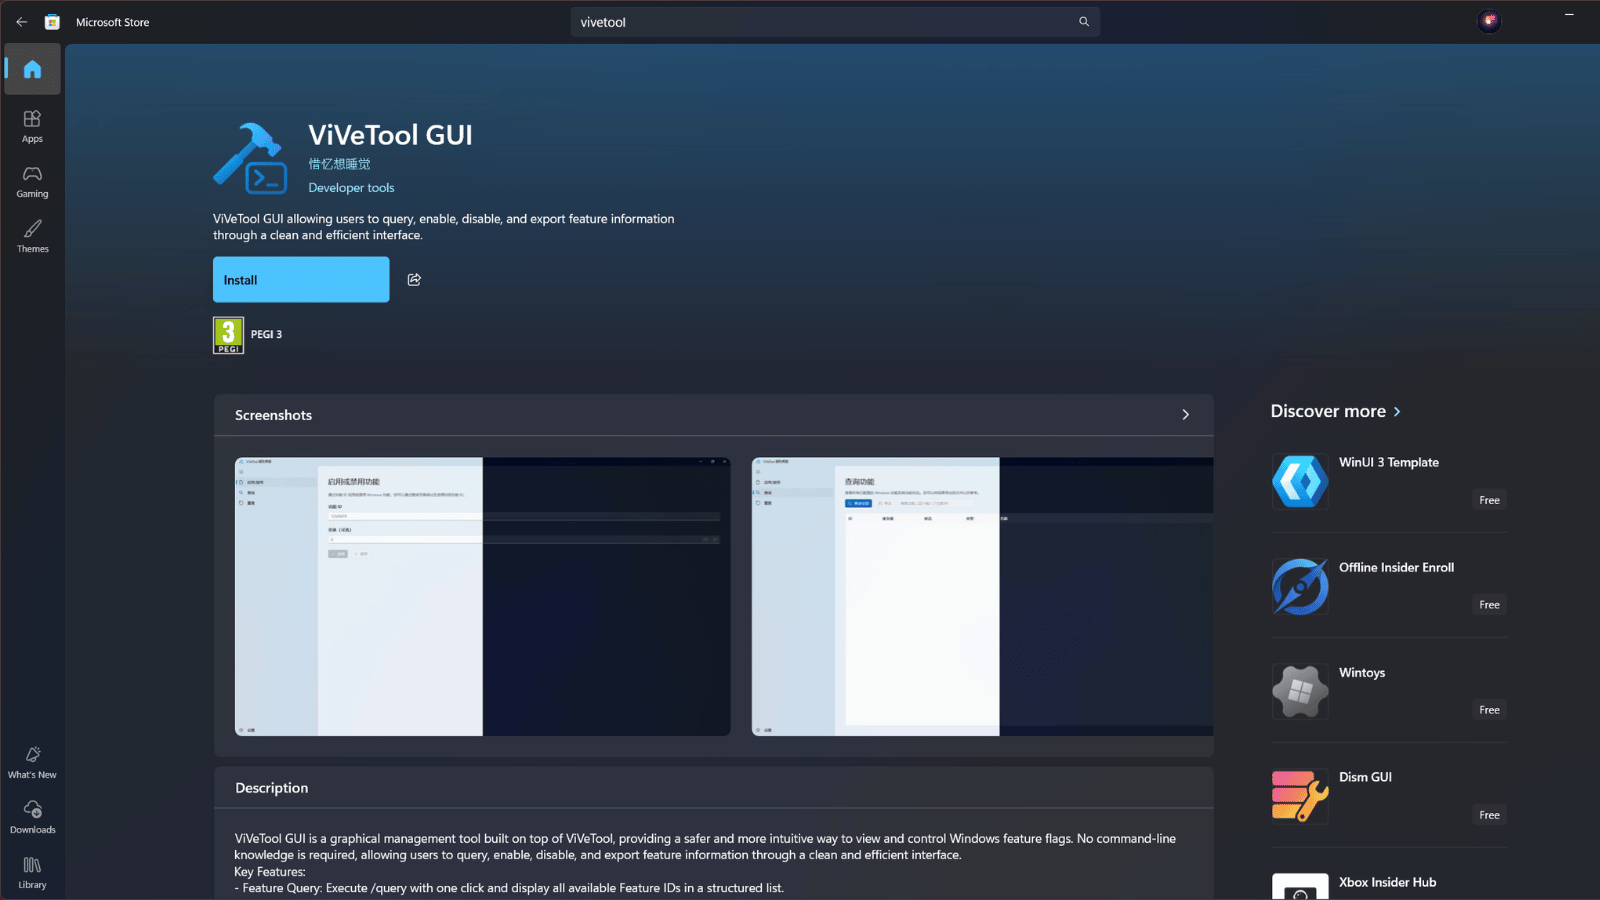
With your restore point created, open the Microsoft Store and search for ‘ViVeTool GUI‘ and install it. It’s around 5Mb, so it shouldn’t take too long. When that’s done, open it. It should look like this…
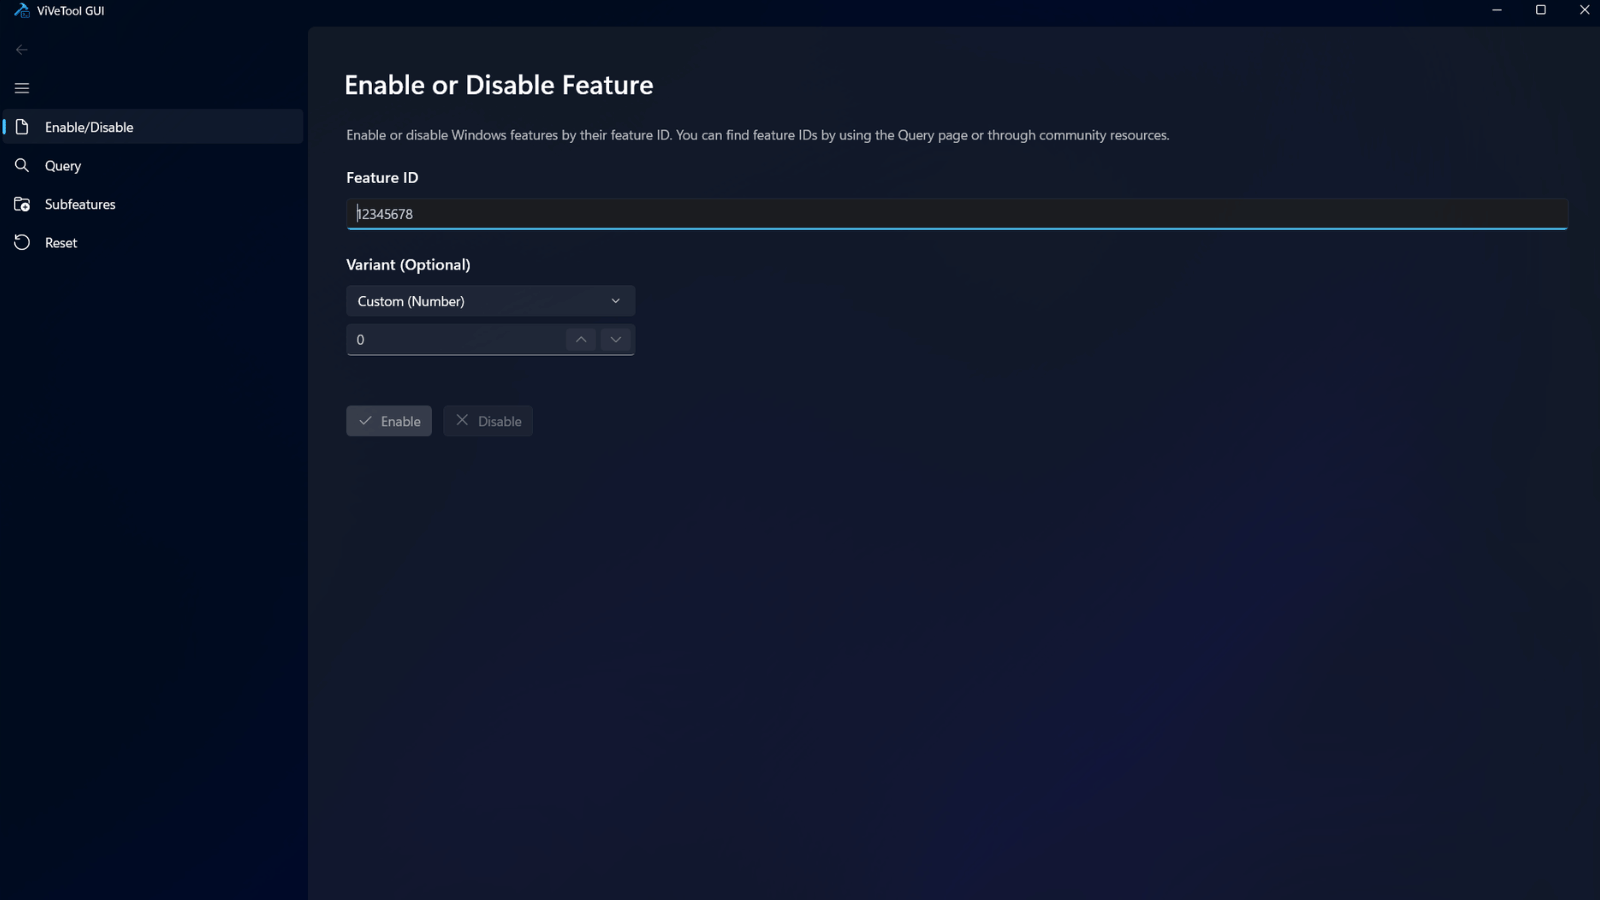
Now, in the field under ‘Feature ID’, paste in this code — 59765208 — and click on Enable. If everything has gone according to plan, you should see ‘Successfully set feature configuration(s)’ underneath the Enable button. Time for a restart.
When your PC has booted up again, you should now have the option to enable Xbox mode. Head back to Settings > Gaming, and you should see another option at the top.
And that’s all there is to it. Hitting Win + F11 should throw up a window telling you that you’re switching to Xbox mode and to connect a controller for the best experience. Alternatively, you could open the Xbox app on your PC and switch to Xbox mode from the toggle in the top right. To return to your normal desktop environment, just press the Xbox button on your controller or hit the Windows key on your keyboard.
If at any point you want to disable the feature because it feels like you’re being naughty, just fire up ViVeTool again, put in the same Feature ID and click ‘Disable’, then restart.


