

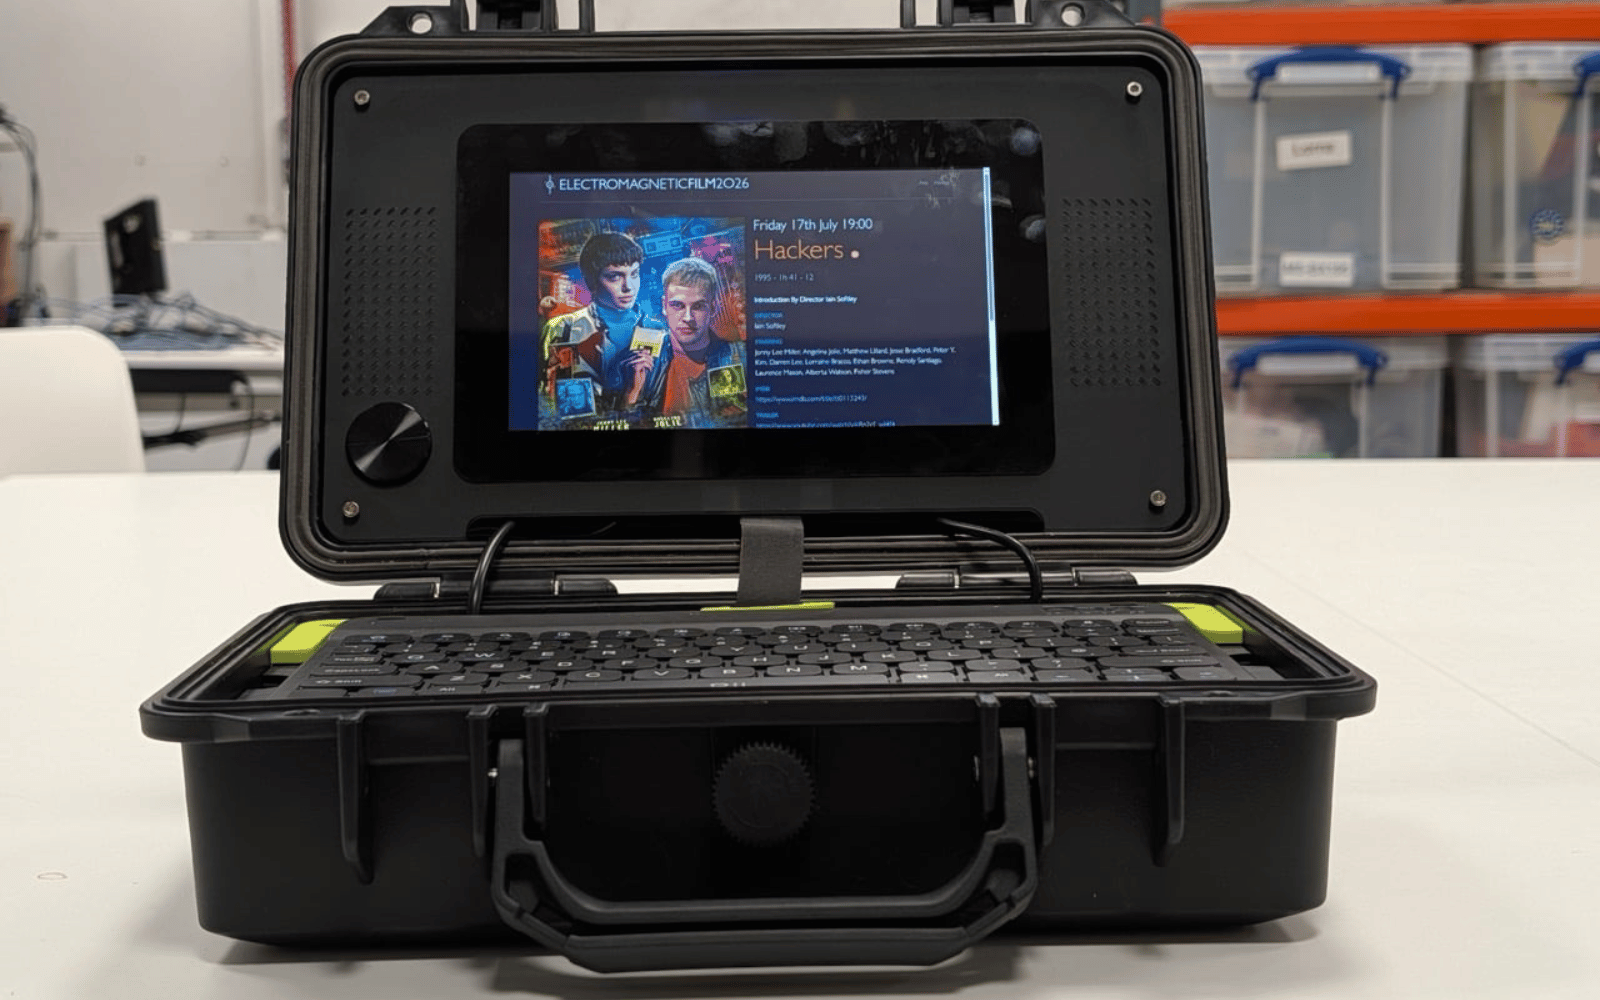
Loads of companies and individuals have come up with cyberdeck builds, often sticking a Raspberry Pi main board into a customised case. The minds behind the Pi have made acquiring one of these units even simpler by releasing plans for making your own version.
The trickiest bit is laying your hands on the various components needed. The part that should be hardest — fabricating a case — is cleverly circumvented. Raspberry Pi’s build uses a waterproof storage case, essentially making the mini-PC a rugged unit capable of surviving much more than a standard laptop.
Cyberdeck yourself
The Pi build uses a less rugged version of a R600 Grip waterproof case to stash its innards, with a full list of components (and their attachment methods) outlined. It uses a Pi 5 board, one of the company’s own flash drives (product placement, baby), and a 7in touchscreen display. Naturally, the cyberdeck method — first published in the Raspberry Pi Official Magazine (Issue #168) — uses as many branded products as possible.
The setup also calls for a Bluetooth keyboard, power bank or battery, and a USB audio card. There are some 3D-printed support components, which are less complex than completely fabricating a customised case. The internal supporting structure uses mounting tape (good) or a glue gun (better) to finish the assembly. Obviously, sorting out the cyberdeck operating system beforehand is a good idea.
There are a couple of optional extras, like LED integration, to play with. Likely, you’d have to tweak Raspberry Pi’s plans to suit whichever case you settle on. But it removes most of the thinking from the process of creating a custom PC in a storage box.