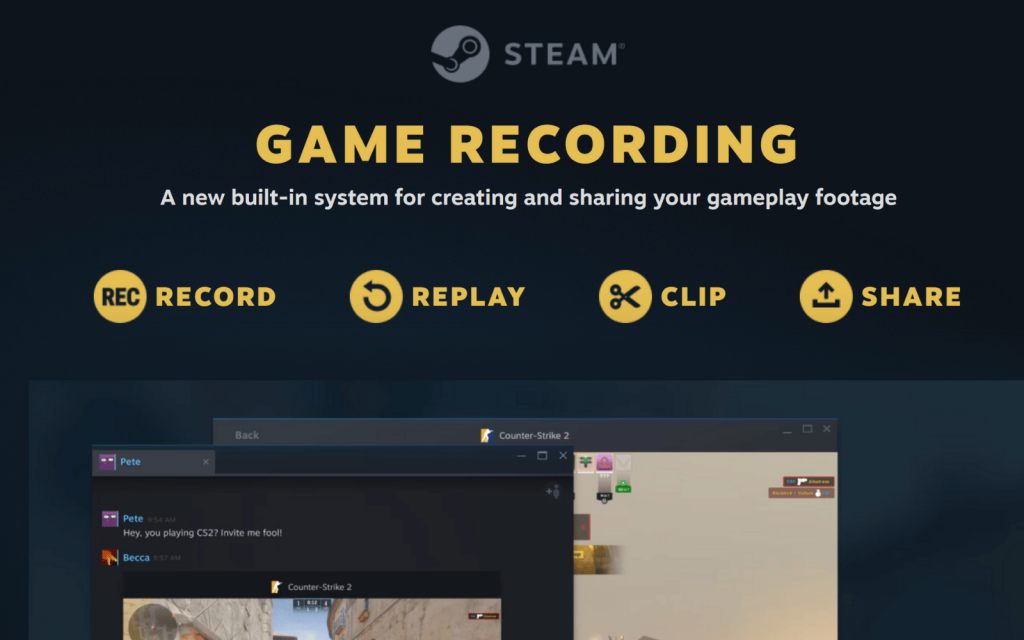
After yesterday’s update to the Steam client, Steam Game Recording has officially exited beta and rolled out to gamers on PC, macOS, and the Steam Deck globally. This means Steam gamers now have a baked-in method for recording, editing, and sharing gameplay clips and won’t have to rely on third-party software.
They still can, of course. Most PC gamers tend to stick with their favourites, even when a new thing drops. But Steam Game Recording is built into the Steam client, one of the most well-put-together gaming clients available, which means recording your clips is now easier than ever.
Steam Game Recording clip or it didn’t happen
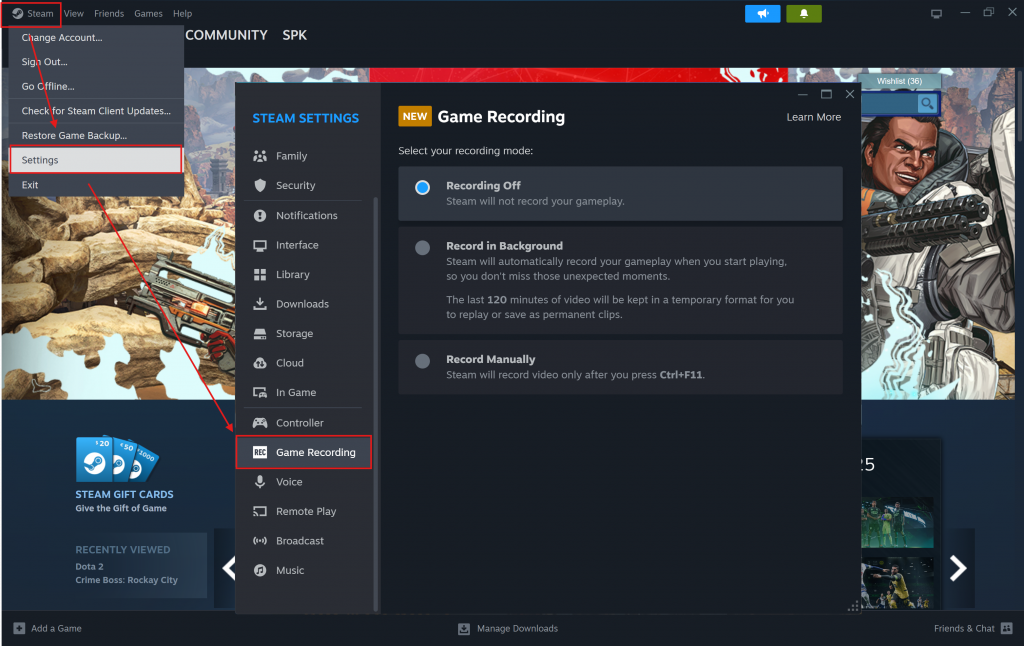
To get going, you’ll need to head over to Steam settings and enable the feature – as it is disabled by default. With Steam open, click the Steam icon in the top left of the window. Click Settings and select the Game Recording tab on the left. If you don’t see it, make sure your client is up to date.
Selecting either of the options to enable the feature will present you with further settings that range from what your recording hotkey is (if you choose to record manually) to the quality of your recordings and where they’ll be saved. There’s also the option to set per-game settings and pick where to record audio from.
Read More: Steam Families is finally here to spread the love (and your games)
Valve says Steam Game Recording will work with any game that supports the Steam overlay so if the game you want to record isn’t officially on Steam you can add it as a non-Steam game and record away.
Once you’ve got your clip, Steam’s new recording and screenshots manager makes it easy to sort through the fluff to get to the good bits. You can edit the clip down to just the bits you want and share or export it, all without ever having to alt-tab out of your game. Thanks, Gabe.


