Looks like you’re in the process of unboxing a brand-new (or secondhand) Android smartphone. You may have got your hands on the brand-new Samsung Galaxy S24 or imported a Google Pixel device. Whichever Android phone you’re setting up – you may have some questions.
Firstly, make sure the phone you’re setting up is either brand new or a properly formatted hand-me-down or secondhand phone. Either way, there are a few steps to follow that’ll streamline the setup process.
Step 1: Preparing for setup
Before diving into the setup process, it’s vital you go out and gather everything you need.
Back up your old phone: Start by backing up your old phone to ensure a smooth transition to your new one. Luckily, this part is pretty straightforward. Use Google’s backup feature to save your contacts, calendars, text messages and other essential data. Navigate to Settings > System > Backup (or Settings > Accounts and backup > Backup and restore for Samsung Galaxy phones) to initiate the backup.
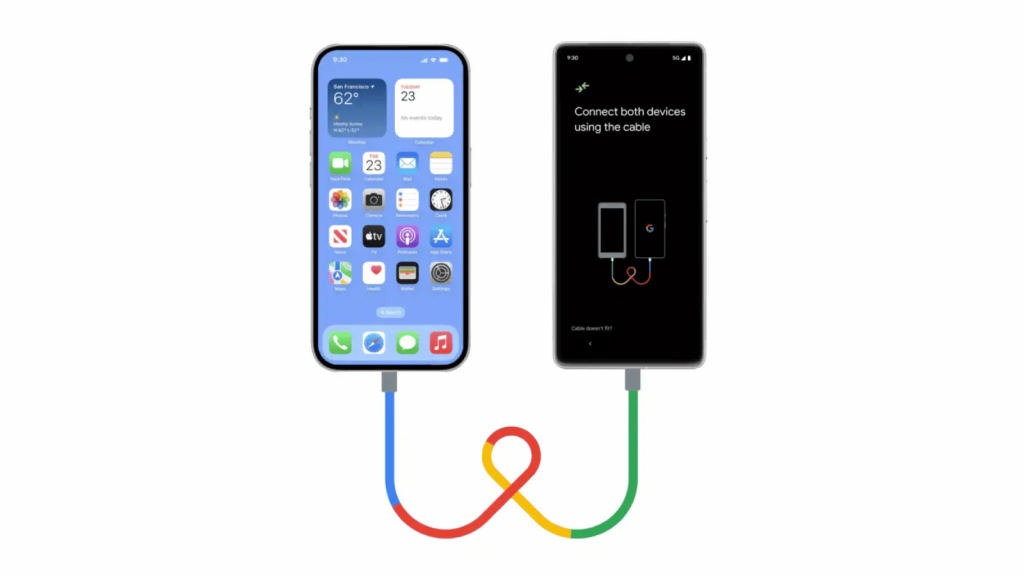
Gather necessary items: Have your SIM card (or eSIM activation details), Wi-Fi network information, and Google account credentials ready. Additionally, if you plan to transfer data from your old phone, a USB-C to USB-C cable will come in handy.
Step 2: Okay, it’s time
 Now that you’re prepared, let’s get started with setting up your new Android phone.
Insert SIM card and power on: Insert your SIM card into the new phone and power it on. Follow the on-screen instructions to select your region and language, connect to Wi-Fi, and sign in with your Google account details. That last step isn’t strictly required straight away but it could save you a few headaches later on.
Set up security features: It’s always a good idea to enhance the security of your device by setting up a screen lock method, such as a PIN, pattern or biometric authentication (fingerprint or facial recognition). While you’re at it, consider enabling your preferred electronic payment method, like Google Pay, Samsung Pay, or any of the other locally supported systems.
Restore backup: If you didn’t do it earlier, sign in with your Google account to restore data from your backup. This includes contacts, calendars, app settings and more. During this process, you’ll have the option to choose which data to restore.
Step 3: Post-setup details
After completing the initial setup, don’t forget these important post-setup tasks.
Update system and apps: Ensure your device is up to date by checking for system updates in Settings > System > System update. Additionally, head to the Play Store to update your apps, ensuring you have access to the latest features and security patches.
Add other accounts: Integrate additional accounts, such as social media, email, and cloud storage accounts, to your device for easy access. Navigate to Settings > Accounts (or Passwords & accounts) > Add account to add new accounts.
Step 4: Personalisation and Customisation
Configure Google Assistant: Maximise the capabilities of Google Assistant by customising its settings. Access Assistant settings by saying “Hey Google, open Assistant settings” or navigating to Settings > Google > Search, Assistant and Voice > Google Assistant.
Explore additional customisation options: Delve into the settings menu to explore customisation options such as home screen layout, display settings, and notification preferences. Android offers a wide range of customisation possibilities, so feel free to go mad here and really make the phone your own.
Read More: Exploring the walled garden: First-time iPhone setup tips
Step 5: Explore advanced Android features
Now that your phone is set up, take some time to explore advanced features and tips to enhance your Android experience.
Utilise gestures and shortcuts: Familiarise yourself with gesture controls and shortcuts to navigate your phone more efficiently. From swipe gestures to app shortcuts, mastering these features can significantly improve your productivity — even if that’s just reordering your apps so you don’t have to swipe and scroll to look for it.
Explore built-in apps and services: Take advantage of the built-in apps and services offered by Android, such as Google Photos, Google Drive and Google Maps. These apps seamlessly integrate with your device, offering powerful features for managing photos, files, and navigation.
Discover accessibility features: Explore accessibility features designed to make your phone more accessible to users with disabilities. From screen readers to magnification gestures, Android provides a range of accessibility options to accommodate diverse needs.


