The Basics
Start small
You might want to animate the next Toy Story or Akira in your shed, but rein in your ambition at first. Start by trying some basic animation: a simplified flying bird, a bouncing ball or a walking stick figure. Create a loop that repeats every few seconds and expand from there.
Watch the world
Unless you’re planning to create abstract animation best suited to late-night mushroom trips, what you build will be based on the real world. So study it. When you want to create a walk cycle, record someone walking (with their permission!) and play that back in slow motion, watching how parts of the body move. Once you fully understand the basic principles, you can add your own style.
Learn the trade
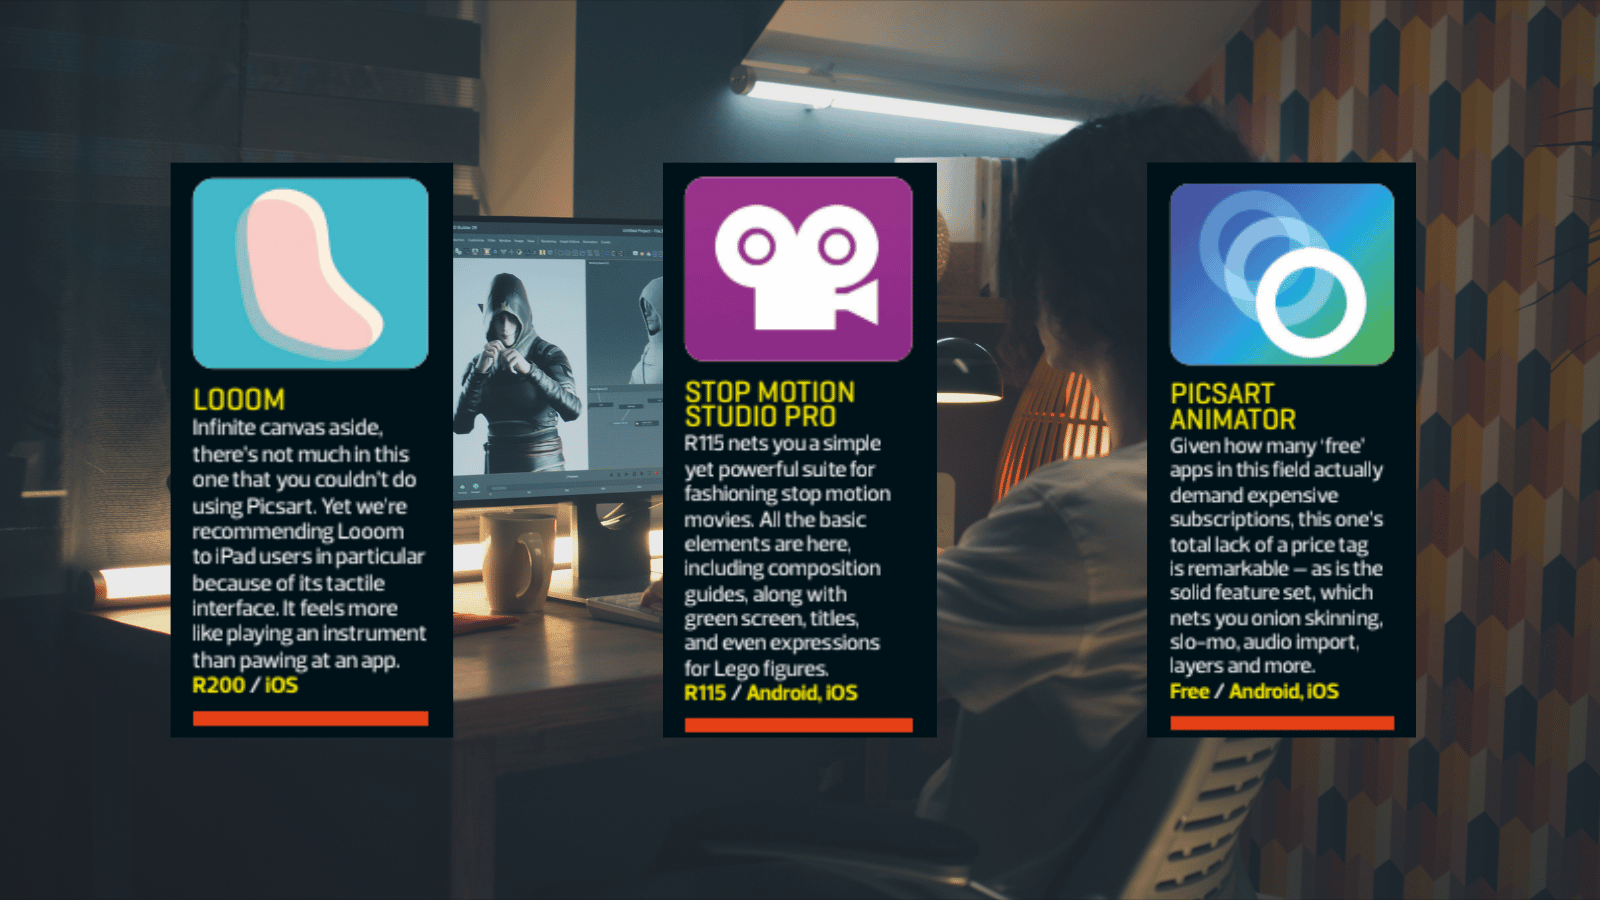
You don’t need to swallow a dozen books on animation to get started – there’s plenty of easy-to-digest information online and within apps. Stop Motion Studio Pro (see panel opposite) includes a range of
properly useful tutorials, for example. And a quick web search for the 12 principles of animation will net you the
key building blocks.
Make a space
If you’re delving into stop motion, you’ll need a work area that can be left as-is for the duration of your project. You’ll also want any camera you use to be stable: nudge it or knock your setup and you could ruin days of work. And even with hand-drawn stuff, you’ll want a calming place in which to focus.
Back it up
We often recommend backing up work, but that goes doubly so for animation – where you could spend days of effort eking out a few seconds of footage. You don’t want your project files to be eaten by digital gremlins, so make lots of copies.
Import imagery
Grab stills
Photographs can enliven sketch-based animations by acting as backgrounds. In stop motion, clippings can become moving components. Or you can shoot entire frames and use an app like Stop Motion Studio Pro to arrange and fine-tune them.
Grab video
It’s also worth having fun with videos. Load one into Stop Motion Studio Pro and it extracts frames and audio, leaving a timeline that’s full of character. You can then draw atop the frames, to further make the movie your own.
Animate photos
Use readymades
Motionleap by Lightricks (free with IAP on Android and iOS) provides handy shortcuts to animating existing photos. Load a pic, choose Sky or Water and you can swap out those elements with a tap.
Roll your own
For more subtle custom animation, use the Animate function. Define the area of the photo you’d like to move
with the Select brush, then choose Direction and draw motion arrows. This works best on skies and geometric shapes like architecture… but do experiment!
Wake up drawings
Use ‘onion skinning’
Most animation apps have a feature that lets you see a faint version of the previous frame or frames. Always have
that turned on so you can more accurately position subsequent frames and make your animation feel coherent.
Add new layers
Once you move beyond basic animations, use layers to isolate components. That can mean backgrounds and
foregrounds, or even parts of a complex object. This allows you to adjust and edit one part without affecting another.
Lift from comics
When starting out and using low framerates, movement might not be very obvious. Help your viewer by adding
comic-like motion lines to emphasise the direction in which a key object is moving.
Get tweaking
Activate guidelines
For precision rather than a modern take on La Linea, use a background grid if your app has one. FlipaClip (free
with IAP on Android and iOS) also has stencils you can use to draw regular lines, squares and circles.
Change framerates
Unless you have a lot of spare time, you’re not likely to be outputting animation at a silky 50fps. But do explore different framerates, plus pauses and duplicate frames, since those can have a big impact on the feel and fluidity of your animation.


