
Just the other day I had a group call with my family. We’re scattered all over the country and while everyone else was able to see one another they couldn’t see me. For the simple fact that the webcam on my laptop is broken and I never actually invested in a camera for my desktop. I mean, who actually needs an external webcam these days? Well, turns out in a world that’s predominately working from home, plenty of people are in need of a camera to see their colleague’s bored expressions during meetings. They can be quite tricky to come across these days but you know what’s way easier to find? That old smartphone from 2 years ago that’s lying in the back of your cupboard.
The Verge went ahead and gave a pretty decent little walkthrough on how to set up an old smartphone as your primary webcamera so we thought we’d share their wisdom a little further. We’ve got a step-by-step guide here on how to transform that old Android device into a webcam and the process is surprisingly simple.
My Android, My Camera and Me
Okay, so first step for turning that unused Samsung Galaxy into a webcam is to boot it. Yeah, get the charge cables out because you probably haven’t turned this dinosaur on in years. Once you’re up and running, head to the Google Play Store and download DroidCam. The latest version of the app only works on Android 5.0 Lollipop or anything newer so bear that in mind. Once you’ve got the app on your phone, head to your desktop and download the Windows client of DroidCam off Google. Regrettably this app only works on Windows, sorry Apple users.
So you’ve got the desktop client and the mobile app. Make sure that when you’re installing DroidCam to your PC you allow it to install audio drivers, that’s important so don’t skip it. Once the installation is finished, you’ll be prompted to connect your phone either wirelessly or through USB. The Verge says that WiFi is the better option but we were fare more successfully using a good ol’ USB cable. Once you’ve chosen how to connect you’ll be pushed to plug in your phone’s IP address. How do you get that number? Simple, just open up the DroidCam app on your phone and you’ll see it right there. Go ahead and plug it in to the desktop client.
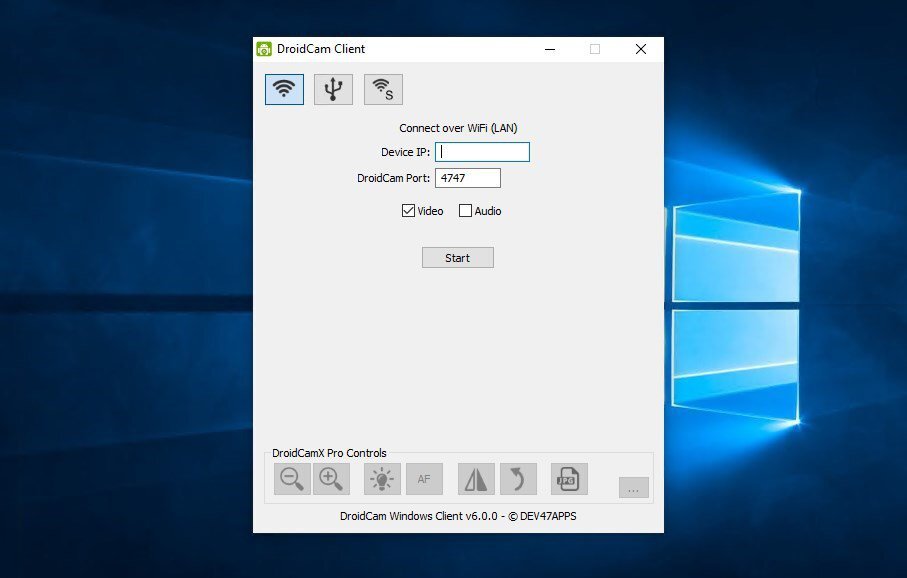
We’re close to the end of the process now. Make sure you check both “video” and “audio” boxes on the desktop client and before you finally hit “start” to sync the connection, tap the three vertical dots in the top right of the mobile app. In the “camera” section of that menu you’ll be able to choose whether to use the forward-facing or back-facing camera. Probably go with back-facing, they tend to be higher quality.
Smack the “start” button on your desktop and the connection will be established. Then all you need to do is open up whichever video chat app you prefer, navigate to audio settings and select “DroidCam Virtual Audio”. For the video feed, head over to “video settings” and switch the default camera to “DroidCam Source 2”. It might give you the option to switch to “DroidCam Source 3” but they function exactly the same.
Now all you need to do is find a comfy place to perch your phone so it can encapsulate all your glory without falling over and possibly shattering. Simple, right? Webcams are a thing of the past when it’s just so much easier to recycle one of those old android devices.


