


So, it looks like you’ve acquired a new Windows laptop, whether it’s brand new or second-hand (and wiped correctly). You’ll want to set up this useful little gadget properly from the start. This will allow you to go into this new endeavour on… the right foot.
As we guide you through this setup, just a few things. Firstly, Windows is an operating system developed by Microsoft for laptops and PCs. Not all laptops will come out of the box with Windows – If it’s labelled ‘Apple’, you’ll find something called MacOS and this guide will be of little help.
But if your new laptop bears any other brand, like Acer, Asus, Dell, HP, or Lenovo to name a few, you’re in the right place.
Step 1: Preparing for setup
Before diving into the setup process, take some time to prepare. Here are a few crucial tasks to complete even before you hit that power button.
Back-up your data: Ensure that all your important files, documents, and settings are backed up from your old laptop or PC. You can use external hard drives, or cloud storage services like Google Drive or Microsoft OneDrive. Just be sure to save all your important data before porting to a new machine.
Gather necessary accessories: Gather any bits and bobs you may need, like a mouse, keyboard, or external monitor. You may also have to charge up the battery on your new laptop straight out of the box, so go ahead and grab a multiplug and get it charged up.
Step 2: Initial setup and config
Power on and initial setup: Power on your laptop and follow the on-screen prompts to complete the Out of Box Experience. This includes selecting your language, region, and keyboard layout, and setting up user accounts.
Connect to Wi-Fi: You’ll have to ensure your laptop is connected to a Wi-Fi network to access online services and complete some of the setup tasks.
Pro tip: When you reach the account-setup stage, you might notice you’re forced to sign in with a Microsoft account. If you’d rather create a local account and sign in later, enter “no@thankyou.com” (without the quotes) as your email address and then literally any text as the password. This will throw up a message saying the account is locked and allow you to create a local account.
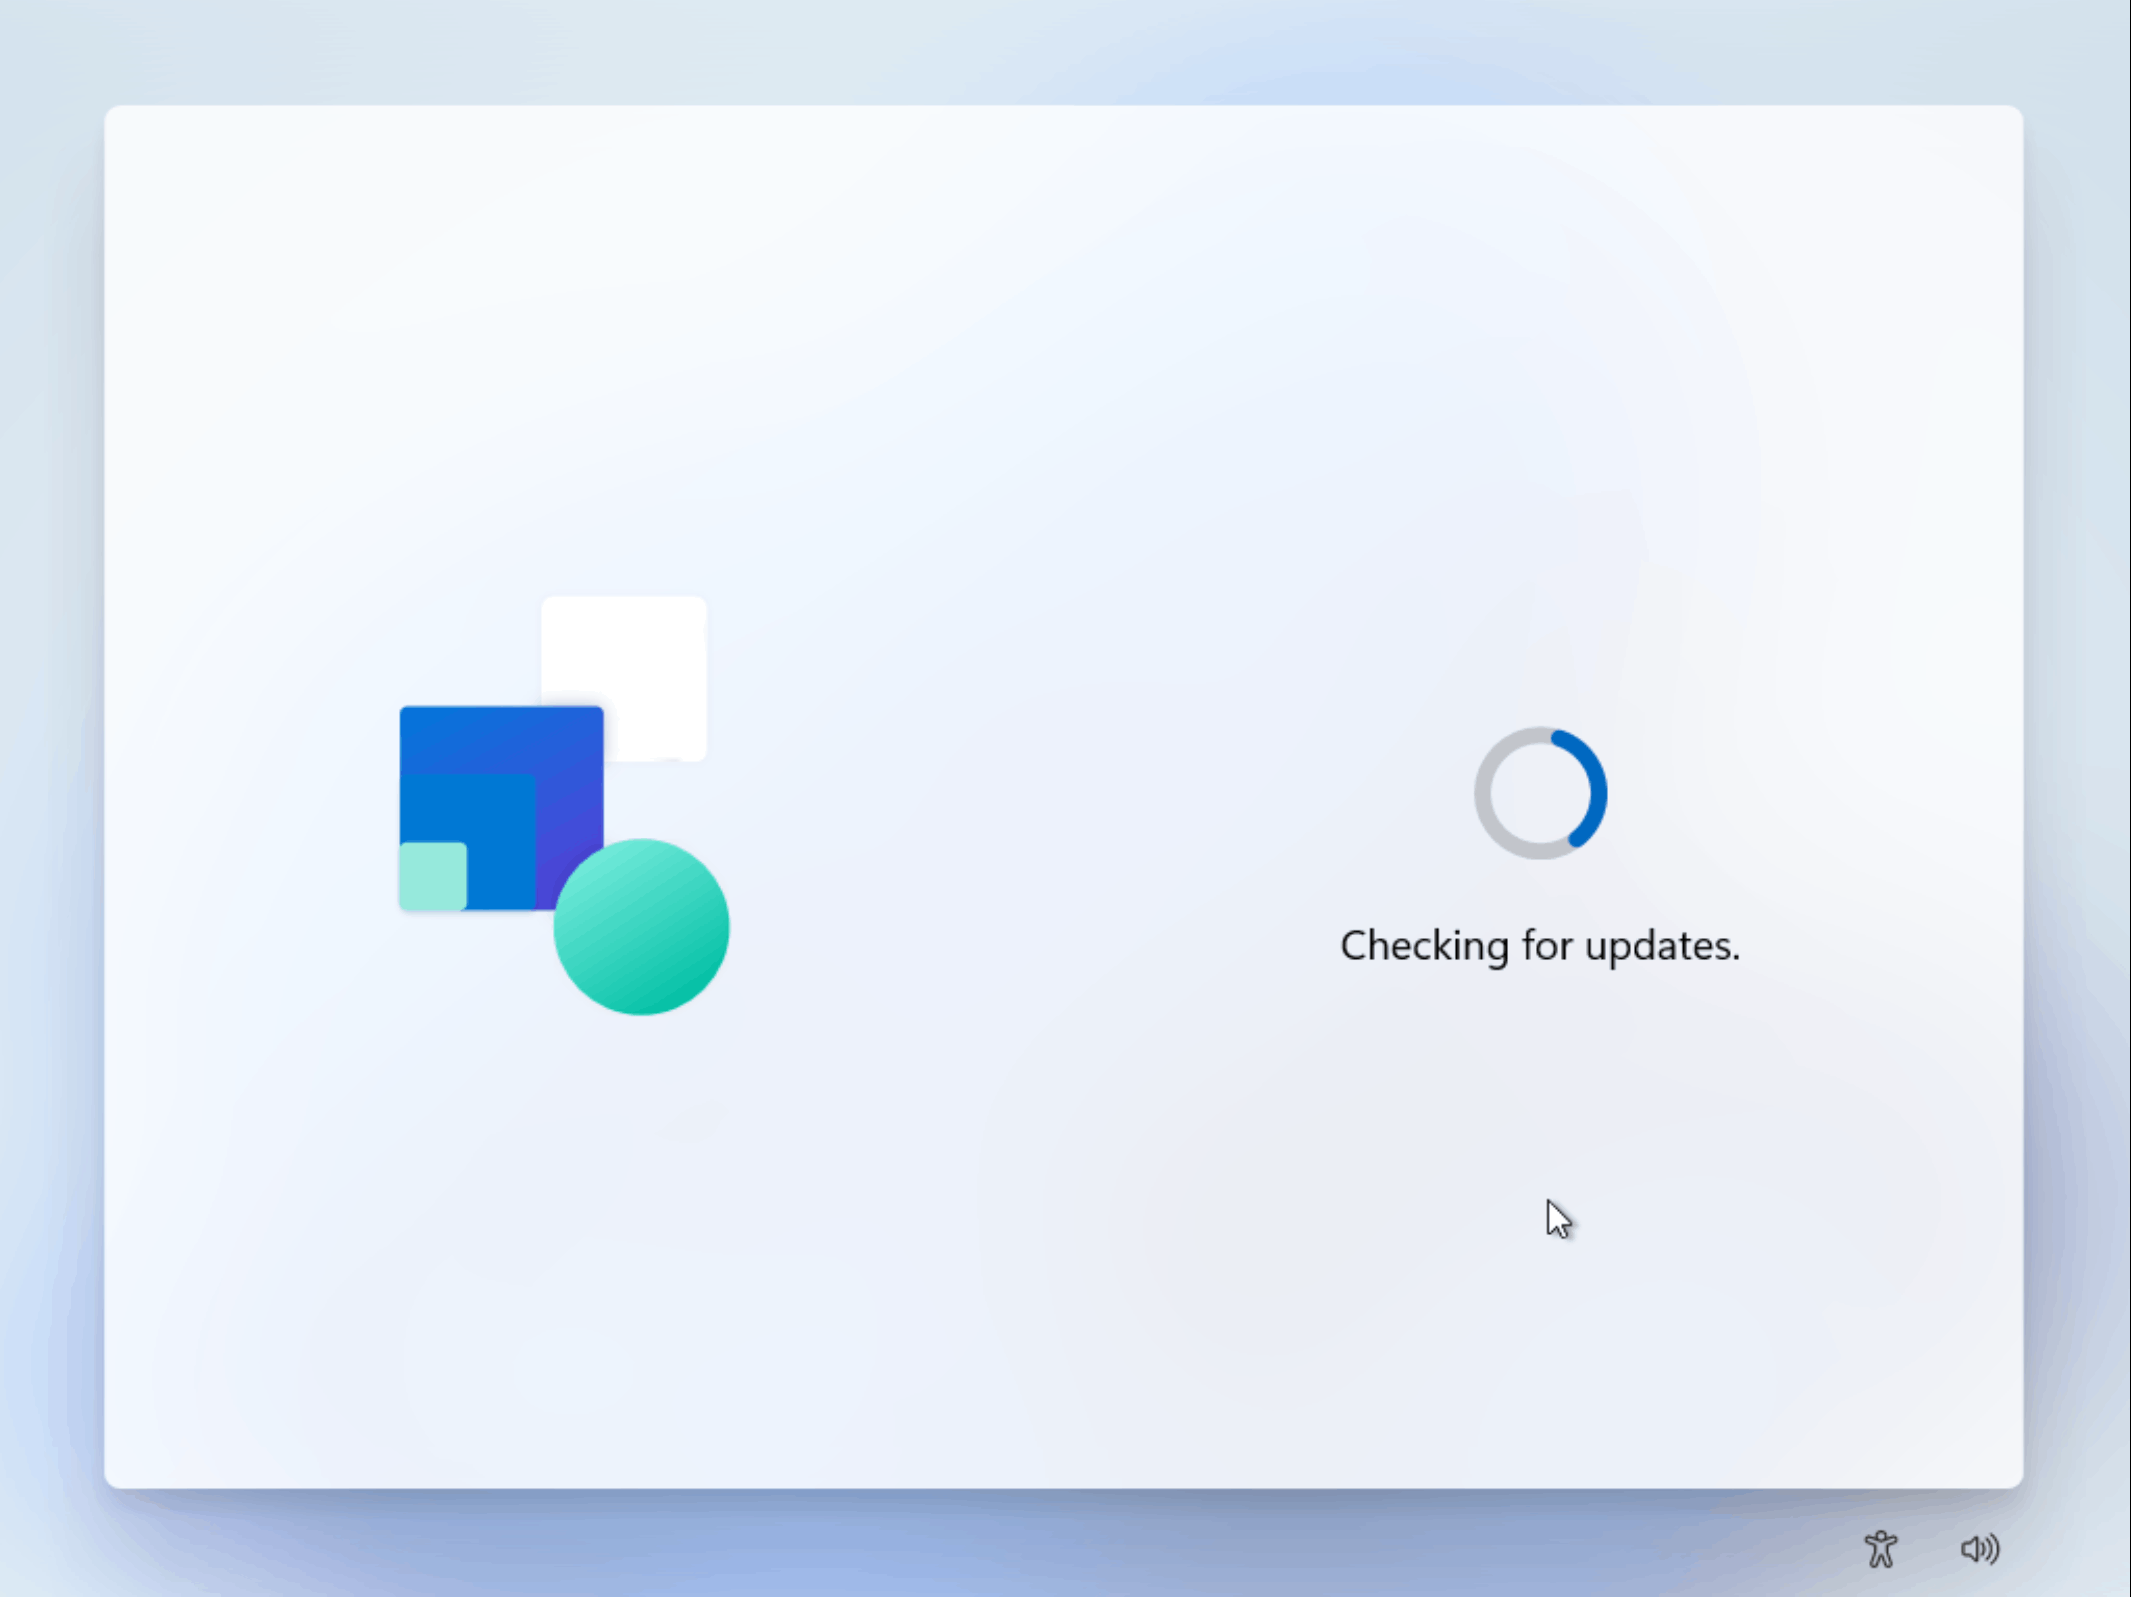
Windows update: After initial setup, check for Windows updates to ensure that your laptop has the latest security patches and feature improvements. Head over to Settings > Update & Security > Windows Update to check for updates.
Read More: Exploring the walled garden: First-time iPhone setup tips
Step 3: Customisation and optimisation
Now that your laptop is set up, it’s time to customise and optimise it to suit your preferences and needs.
Personalisation settings: Explore the personalisation settings to customise your desktop background, theme and colour scheme. You can also adjust display settings, such as screen resolution and brightness, to optimise your viewing experience.
Install essential software: Install essential software and applications based on your needs, such as productivity tools, web browsers, and multimedia players. Be selective to avoid cluttering your system with unnecessary programs.
Pro tip: We’d recommend checking out ninite.com. It’s a free package management system that allows you to select a number of free programs and intalls their latest version for you in one go.
Organise your files and folders: Logically organise your data to streamline your workflow and make it easier to find what you need. Create separate folders for documents, photos, videos, and other types of files.
Step 4: Security and maintenance
Okay, now you’ll have to ensure that your laptop is secure and well-maintained to protect your data and prolong its lifespan.
Activate Windows security features: Enable Windows security features, such as Windows Defender Antivirus and Firewall, to protect your laptop from malware, viruses and other online threats. If you have a subscription to a different antivirus, go ahead and install that one.
Pro tip: Some laptops will come preloaded with antivirus bloatware like McAfee, which will annoy even the most patient among us with ads and pop-ups. Be sure to uninstall it properly with Revo Uninstaller (available through Ninite) or by navigating to Settings > Apps > Installed apps then clicking on the ellipses menu and selecting Uninstall.
Read More: How to set up iCloud on your Windows PC
Set up backup and recovery options: Set up your backup and recovery options to safeguard data against accidental loss or corruption. You can use built-in Windows features or third-party backup options.
Regular maintenance tasks: Perform regular maintenance tasks, like disk cleanup, defragmentation (if you’ve still got a hard drive with a spinning platter, this isn’t recommended for SSDs) and software updates. This will help keep your laptop running smoothly and efficiently over time.
Step 5: Dive even deeper
Once you’ve completed the basic setup and configuration, take some time to explore advanced features and tips to enhance your laptop experience:
Keyboard shortcuts and gestures: Learn useful keyboard shortcuts and touchpad gestures to navigate your laptop more efficiently and easily perform common tasks. Here are a few to start with (where you see ‘Win’ we’re referring to the Windows key usually located between the Control and Alt keys):
- Win + I = Settings
- Win + L = Lock your account
- Win + P = Projection/second screen options
- Win + Shift + S = Screen capture tool
- Ctrl + Shift + Esc = Task manager (quicker than Ctrl + Alt + Del)
- Win + X = Admin tools/troubleshooting options
- Win + number row = Opens the pinned app on your taskbar
- Win + Space bar = Switch language
Accessibility features: Explore accessibility features, such as magnifier, narrator, and high contrast mode, to customise your laptop for specific needs or preferences.
Pro tip: If you’re looking for something specific, just drop the word into the ‘Search’ in the Windows Task Bar.
Power management settings: Optimise power management settings to extend battery life or maximise performance. Adjust sleep, hibernate, and power-saving options to suit your usage patterns.