
Image editing is one of those skills we’re all just expected to have now, whether it’s coming pre-made via an online service or the product of hard-earned time spent tweaking RAW files and adjusting nigh-incomprehensible graphs. The point is, you’re supposed to know how to do it. Social media demands it.
Trouble is, unless you’re the sort to actively hunt down new knowledge (there are a few of you out there) it’s awfully easy to just do the bare minimum. And the bare minimum isn’t going to do much to pump up that flagging follower count, is it Jeremy? We’ve got the tips you need to up your game without tracking down lengthy tutorials online. You’ll eventually get to those, of course, but in the meantime, here’s how to upskill your image editing and, hopefully, raise a few eyebrows online.
THE BASICS
Play the numbers
When editing, be mindful of pixels. The more you have, the better: blow up a small crop and the results will be bad. Also consider resolution and formats. Screens can be forgiving – you can get away with lower quality and rougher edits for social media than for a photographic print.
Don’t destroy
Understand how the editors you use affect your files. Ideally, go for non-destructive tools that afford space for experimentation and don’t overwrite your original photos. If unsure, duplicate
a photo and work on the copy. When trying out complex edits, save ‘breakpoints’ so you can always revert to an earlier version.
Learn to focus
Photos that stick in the mind tend to be those that draw the attention to a subject or focal point. So decide what you want to emphasise – even when you’re just posting a snap to Facebook. Crop out distractions. Consider a vignette to make a central subject more prominent. Adjust colours to strengthen what you’d like to highlight.
Beware the bots
Digital tools are designed to save you time, but please don’t believe all the hype regarding AI, machine learning and other automated fare. Sometimes this can provide a one-tap improvement, but more often you’ll need to put in some effort yourself. Some of the best image-editing apps back automation but with the ability to tweak the resulting settings manually.
Make it personal
In this article and elsewhere, you’ll find advice about how you ‘should’ go about edits. But like everything else, style is personal. A fan of eye-searing saturated colours? Keen to make every snap look like it was shot in the 1890s, with sepia tones and vignette fades? They’re your photos, so make them your own.
 LEARN YOUR LINES
Crop it
Most editors have a freeform crop tool. But do also explore pre-defined aspect ratios suited to certain platforms (such as 1:1 for Instagram). If the crop tool has a grid, align elements along gridlines to improve composition.
Straighten up
Unless you’ve good reason not to, use a rotation tool to set your image’s horizon at 90°. However, subjects like buildings cause more complex distortion and convergence issues – use SKRWT or Snapseed’s perspective tool to fix this.
MAKE REPAIRS
Automate fixes
Healing tools let you remove unwanted objects by drawing over them. Specialist app TouchRetouch is effective with lines; Snapseed and others can be OK with larger elements. Just be aware that automation can lead to iffy ‘obviously patched’ results.
Clone alone
More advanced editors have clone stamp tools, where you copy a portion of an image then stamp (or paint) with
it elsewhere. This manual process is better for when you want precision, but it’s laborious and tricky.
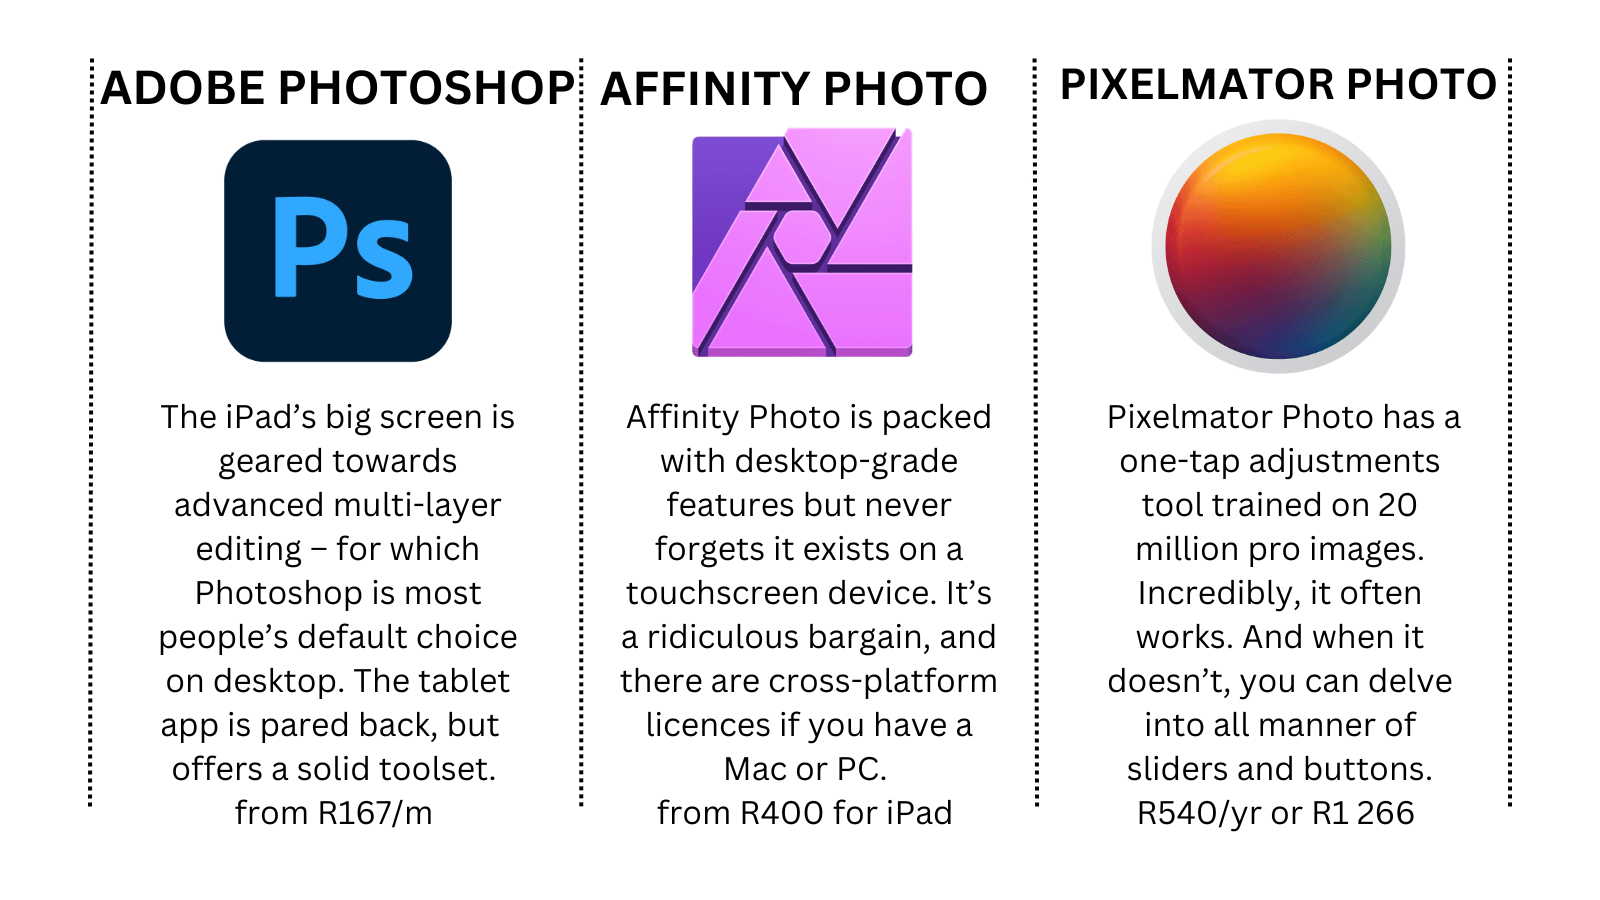
EDITORS FOR IPAD
 BE A TWEAK FREAK
Lighten up
Ideally, get exposure/lighting right when taking photos. But in the edit, you can improve flat snaps by upping contrast, and adjust white balance to make things warmer or cooler. Use a shadows tool to lift details from the gloom.
Colour in
Use a saturation tool to intensify your colours, but don’t overdo it or your pic will look fake. Also try desaturating single colours, such as green in outdoor scenes with people, to make subjects pop.
Keep it sharp
You won’t magically bring details back to a blurry shot, but clarity and sharpness tools can add crispness. Be sparing, though, or you’ll introduce noise and ‘halos’ around the edges of objects.
GET SOME TEXTURE
Ape film
Digital images no longer have to be terrible jpegs full of compression artefacts… but overly pristine snaps can feel cold. Tsk. Use apps like VSCO, Snapseed and Hipstamatic Classic to add warmth via film-like grain.
Add grime
Should you be in the mood for markedly more grit and grime, Snapseed’s grunge tool has almost countless variations you can apply with a tap. Or if you have an iPhone, Mextures affords precision in layers of murk and mess that you apply to your pics.


