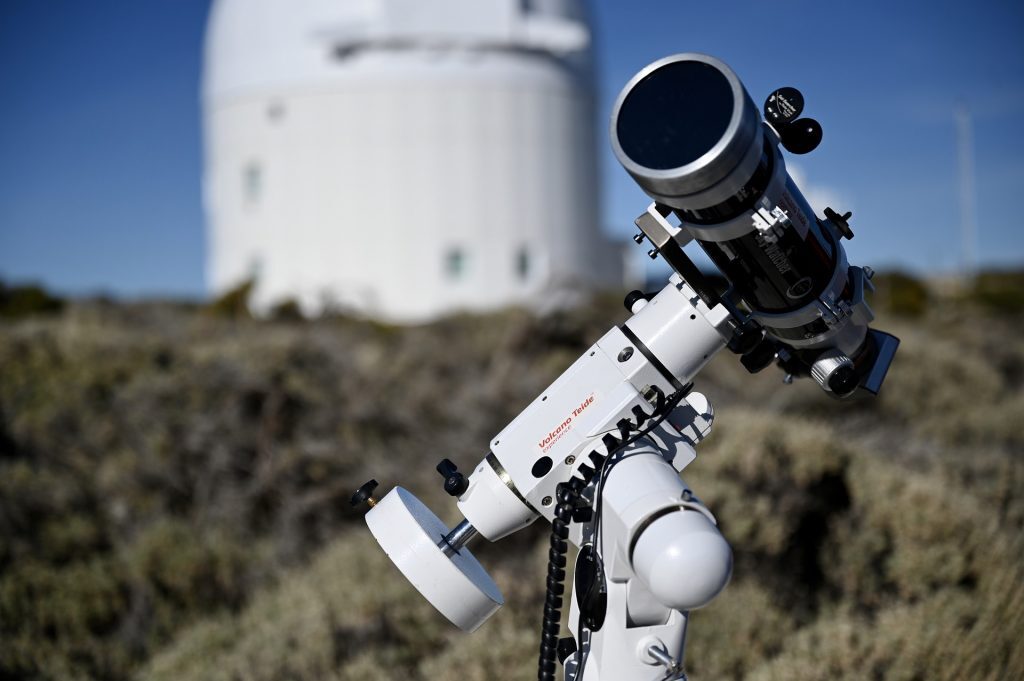
Since time immemorial, humans have been fascinated by the night sky.
Our relationship with it was forever changed in the early 1600s, when Galileo Galilei raised a small hand-held telescope to the sky and became the first person to see Jupiter’s moons and Saturn’s rings.
Optical telescopes today range from pocket telescopes just a few inches long, to the colossal Thirty Meter Telescope being built in Hawaii (which will weigh more than 1,400 tonnes).
There are even bigger arrays of telescopes that observe in radio wavelengths, such as the Square Kilometre Array Pathfinder (SKAP) radio telescope.
These large telescopes used for research don’t have a typical “eyepiece”. Rather, they use highly specialised computer-connected sensors that record signals from the sky.
The good news, however, is there are plenty of telescopes in more manageable sizes which you can use at home to observe moons, gas giant rings and maybe even deep sky objects such as nebulae or the Andromeda galaxy.
But before buying a home telescope, there are some points to consider. Who will be using it (other than you)? What do you want to observe? And just as important, how much are you willing to spend?
Reflectors and refractors
 Optical telescopes are designed to capture light emitted by stars and reflected by planets and moons. You can think of them as light-collecting buckets. The bigger they are, the more light they’ll catch.
This light then has to be focused to form an image. There are two types of optical telescopes available on the market today: reflectors and refractors. Reflectors use mirrors to bend incoming light; refractors use lenses.
Of the two options, reflectors are relatively cheaper. A few hundred dollars will buy you an instrument much larger than the refractor Galileo used. But bigger also means heavier and harder to transport.
Refractors are smaller, easier to transport and produce sharp images — but they’re more expensive, with a 100mm diameter telescope costing about A$500.
The larger the primary glass lens (where the light enters) of a refractor, the longer the whole telescope must be to focus the light rays. At the same time, the larger a lens, the harder it is to make. So there’s a limit to how big refractors can be.
Although refractors and reflectors are the two classic telescope designs, today there are many types of hybrid telescopes that combine elements of both.
The best choice for beginners
Dobsonian reflector telescopes are often recommended as a great first telescope for budding astronomers. They can be set up in as little as 20 minutes.
Dobsonians have very simple mounts called “Altitude-Azimuthal” mounts, which are moved by hand to a target of choice. They move in the up-and-down (altitude) and left-to-right (azimuthal) directions.

To get the most from your telescope, you’ll need accessories. You’d probably want some different-sized eyepieces to change the telescope’s magnification. Also, anti-glare and anti-light pollution filters are highly recommended if you live in a residential area.
The simplicity of Dobsonians makes them great for observing our Moon and other planets in the Solar system. A good size to start with is a 6″ (150mm) Dobsonian. On average, this will set you back about A$500 (about R6,000 here in South Africa).
Astrophotography
At-home astrophotography can be done with either type of optical telescope but requires more specialised equipment. For deep-sky photos, the more you spend, the better your results will be.
You’ll need a telescope with very good optics and a computerised “GoTo” equatorial mount.
These motor-powered mounts take into account Earth’s rotation and can automatically point you to a selected object. This feature is very popular, so most major brands sell telescopes with it built in.
You’ll also need an external power source and accessories including a DSLR camera, camera adaptor, timer shutters and filters (depending on the type of astrophotography you want to do). Once you’re set up, your camera can capture the night sky.
There are many processing techniques you can use after to help you get incredible compositions, as well as dedicated online forums for advice.
Cosmic contributions by the public
Amateur astronomers do much more than just take beautiful photos. They also help professionals. Over the decades, citizen scientists have discovered a plethora of comets and asteroids.
Now they’re helping with larger projects, too. One example is Galaxy Zoo, a crowdsourced project that asks volunteers to sort thousands of galaxies into different groups based on appearance.
There have been more than 60 scientific papers published as a result of these volunteering efforts. In 2017, some viewers of the ABC’s Stargazing Live program discovered a five-planet system orbiting a star. It became the subject of a paper on which they were credited as authors.
For anyone considering astronomy as a hobby, a good start would be to visit your local astronomical society. There are now more than 30 across Australia, several in South Africa and loads more around the world.
Society members are passionate about astronomy, often own a wide range of equipment and hold regular meetings for people with all levels of experience.
- is Swinburne Space Office Project Coordinator | Manager Swinburne Astronomy Productions, Swinburne University of Technology
- is PhD researcher at the Center for Astrophysics and Supercomputing, Swinburne University of Technology
- is PhD Candidate in Astrophysics, Swinburne University of Technology
- is PhD Candidate in Astrophysics, Swinburne University of Technology
- This article first appeared on The Conversation


