Okay, you’re stuck at home. Maybe you have to work from home, maybe you want to set up a virtual yoga group with your friends or maybe you just want to check in on the family. There’s one platform that has seen a literal boom in use over the past few weeks. Zoom video conferencing is the way to go if you’re keen on seeing people’s faces during meetings.
 We’ve evolved from the humble phone call to having access to various channels of communication. Video is probably the ideal method if you need to see people’s reactions, present a slideshow to a bunch of people or follow a video tutorial. Zoom has earned itself a reputation as a reliable, easy-to-use tool that can handle meetings involving up to 100 people — and that’s for the free version.
Here’s how to fully utilise Zoom’s capabilities and up your video conferencing game during this time that we’ll soon call The Great Isolation.
Get set up
Zoom is free to use for anyone with access to a laptop/computer or even a smartphone. If you need to host particularly large online meetings, there are paid-for business packages that add additional features and increase limits. But that’s not even necessary unless you’re running a Fortune 500.
 So you can either add an external webcam to your desktop PC, or use the already installed webcam on your laptop. Oh and an internet or data connection. That’s all the hardware you need to get started.
Connect your webcam
Your laptop probably has a webcam already, but if you’re toting a tower PC, you’ll need an external webcam and microphone. Some monitors do feature integrated cameras, but external webcams are fairly cheap so invest in one. Order it online, if you can. After it has been set up, make sure your webcam works in Windows 10’s Camera app.
If you’ve got a Mac (any Mac), however, it’ll have a built-in camera above the display, so you’re all set.
Sign up and download the app
Head to Zoom’s website, and click the ‘Sign up, it’s free’ button in the upper right corner. Create a profile and check your email for the confirmation.
 You’ll be guided through the process of setting up a password, after which you can invite your colleagues to join Zoom too. You’ll be prompted to download the desktop app. Do this, it’s far more seamless than the browser application. This also means you can run Zoom while working in your browser.
There are also browser extensions for Firefox and Chrome, and a plugin for Outlook, but you can get away with using the app. There are also mobile apps available that you can install on your Apple or Android phone.
Host your first meeting
After the app has been installed, you’ll need to sign in with your newly created account. You’re now ready to start your first meeting. Your boss would be so proud.
 Click the ‘New meeting’ button to start hosting a new video conference. Don’t be startled if your face suddenly pops up on the screen. This is just about where you realise you should put on actual clothes and comb your hair. Go do that quickly.
The Zoom app will then ask you to test your speakers and microphone. If everything works, invite your colleagues (or clients, or yoga friends) to your first meeting. Meetings can also be scheduled for a later time, when you’ve had time to change your clothes.
On the first screen of the Zoom app, click the ‘Schedule’ button and fill out the date, time and topic of the upcoming meeting. Just choose the calendar through which the meeting will be organised (like Outlook, Google Calendar, or whatever mail client) and click the ‘Schedule’ button again.
Join someone else’s meeting

There are a few ways to join a meeting. If someone sends you a link to a scheduled meeting (like we discussed above), you can just click the link and join the meeting that way. You can also click the ‘Join’ button on the main Zoom screen — from here you’ll need to enter a Meeting ID or Personal Link Name that you’ll need to get from the person hosting the meeting.
When you’re in the meeting, you can choose whether to connect using video, audio or both. The host can also control your audio — so they have the power to mute you if you’re being too loud.
Chat, share files and reactions
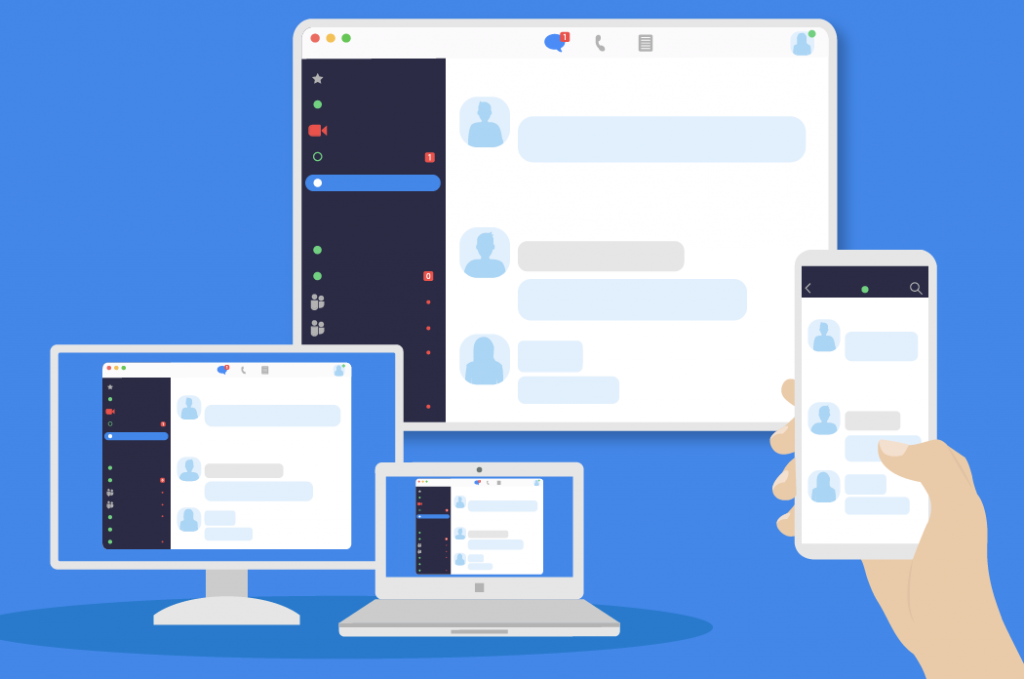
While sharing your video and/or audio with the group, everyone in the meeting can also share files through Zoom’s chat feature. Move your mouse over the video window, and a series of buttons will appear at the bottom of the screen. Click ‘Chat’, and send text-based messages to your colleagues.
This is a great place to ask questions during a presentation or share files that are being discussed with the group. You don’t need to head to your email to share files while in a meeting, which is pretty nifty. ‘Reactions’ are basically emojis that can indicate whether you’re happy or unhappy with something by throwing out a thumbs up or down emoji, for example.
Share your screen
Let’s say you’re the host. Just hit the ‘Record’ button at the bottom of the screen to record the video of a meeting. You might need it as proof for later (take that, Carol). If you’re not the host, you’ll need approval from the host to record the screen.
 The coolest feature is the ‘screen share’ option. This allows the host to show a slideshow or do training on their own computer, while the team watches. This is generally used to do things like presentations or demos. You can also share a portion of your screen to give demonstrations. This can be set up when you initiate the meeting as a host.
Use these keyboard shortcuts
If you haven’t yet, you need to start learning all the keyboard shortcuts available on your computer — whether it be Mac or Windows. It will increase productivity, even if it’s just a little bit. You’ll be faster at simple processes and old people will look at you and go ‘how did you do that so fast?’
 Zoom has a variety of keyboard shortcuts. Head to ‘Settings’ under your profile, and click on ‘Keyboard Shortcuts’ near the bottom of the list. Here you’ll find helpful shortcuts like how to quickly share your screen schedule a meeting or mute the audio for everyone except you (as the host, of course).


