

With a new console comes a lot of learning. Follow these tips, though, you’ll be flying through Mario Kart‘s Urchin Underpass faster than you can say King Boo.
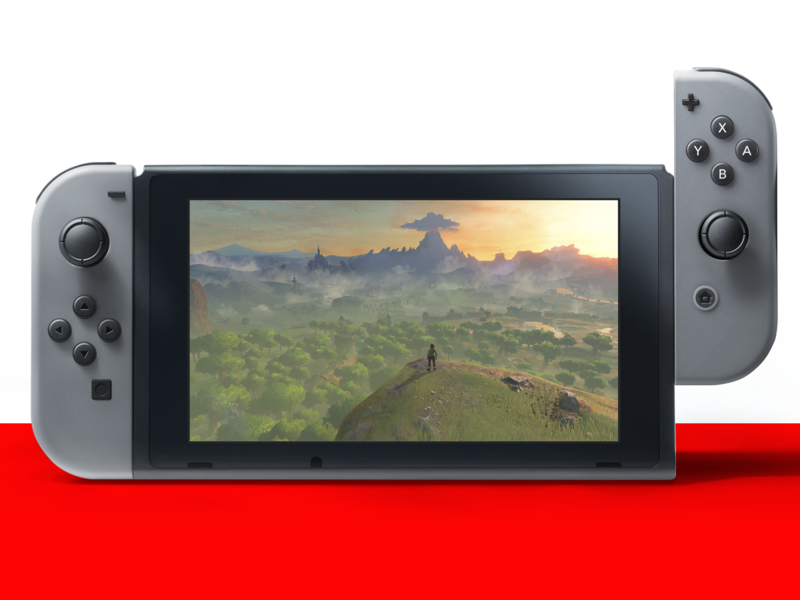
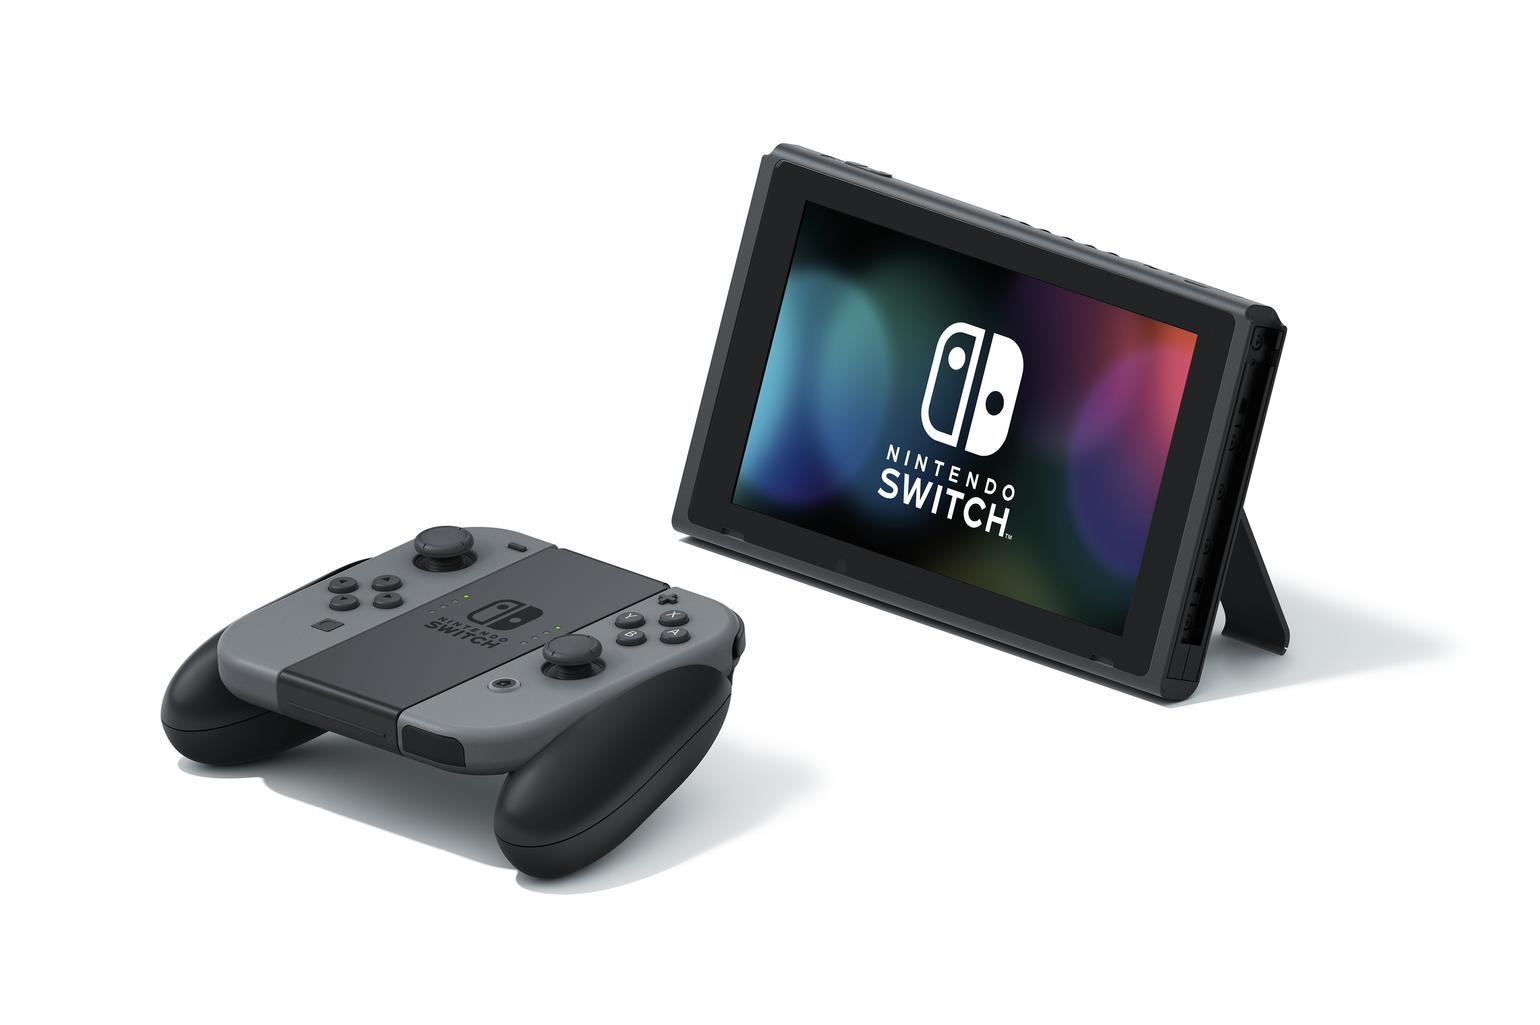
Nintendo’s first new home console since 2012’s Wii U feels like it’s been forever coming. It’s a great piece of kit, with a real premium feeling that the, sadly, failed Wii U lacked entirely.
But aside from playing the new Zelda game (which is amazing), we want to ensure you know all the tips and tricks we’ve discovered from playing with it for a week or so. Some of these might seem obvious, but it’s easy to forget the simple stuff when you’re losing your mind with the excitement setting up your new gadget.
1) GET A MICROSD CARD

Unfortunately, there are already games announced that, alone, will fill your console storage up entirely: we’re looking at you Dragon Quest Heroes 1 & 2. It’s funny, really, because the Switch can actually accept microSD cards so big they aren’t even actually available to buy yet, but you’ll be wanting to push the 256GB mark if you can.
They’re available for a reasonable price, but shop around, and remember the microSD slot is hidden under the kick-stand, on the back of the console itself.
2) GET YOUR NINTENDO ACCOUNT READY TO ROCK
In the past, Nintendo has given rewards for digital purchases, and early indications are that this might be happening with the Switch, too. Either way, if you plan to play online, you’ll want your own unique name, so register it before someone steals it.
3) TAKE SCREENSHOTS, CREATE YOUR OWN MEMES
Being a modern console, the Switch allows you to take screenshots with a handy button on the left Joycon. It’s actually the fastest at doing this of all the current crop of gaming consoles, and it has something a little bit special, too.
In the “album” section, you can arrange your screenshots, delete bad ones, and, yep, add text to them. Fancy creating the next hit meme directly via your Switch? No worries.
You can also post these screenshots to social media, so you really can be the next trending topic. Maybe you can even top Drew Scanlon, also known as “blinking blonde guy”.
4) TONE DOWN THE BRIGHTNESS
Sure, it’s obvious, but given that we’ve achieved nearly three hours of Zelda play on a mid-brightness level, would you be able to squeeze out one extra Shrine if you were playing it with a slightly dimmer screen? Worth a go!
5) CHECK OUT THIS LITTLE EASTER EGG

Well, unlocking the console from rest mode requires you to hit the same button three times. Most people will hammer the A button, desperately trying to get back into Breath of the Wild quicker, but if you experiment with your choice of buttons, you’ll hear a different sound for each tap.
We don’t want to spoil it for you, but try clicking the left stick in, or tapping the shoulder triggers three times.
6) CREATE MULTIPLE PROFILES ON THE CONSOLE
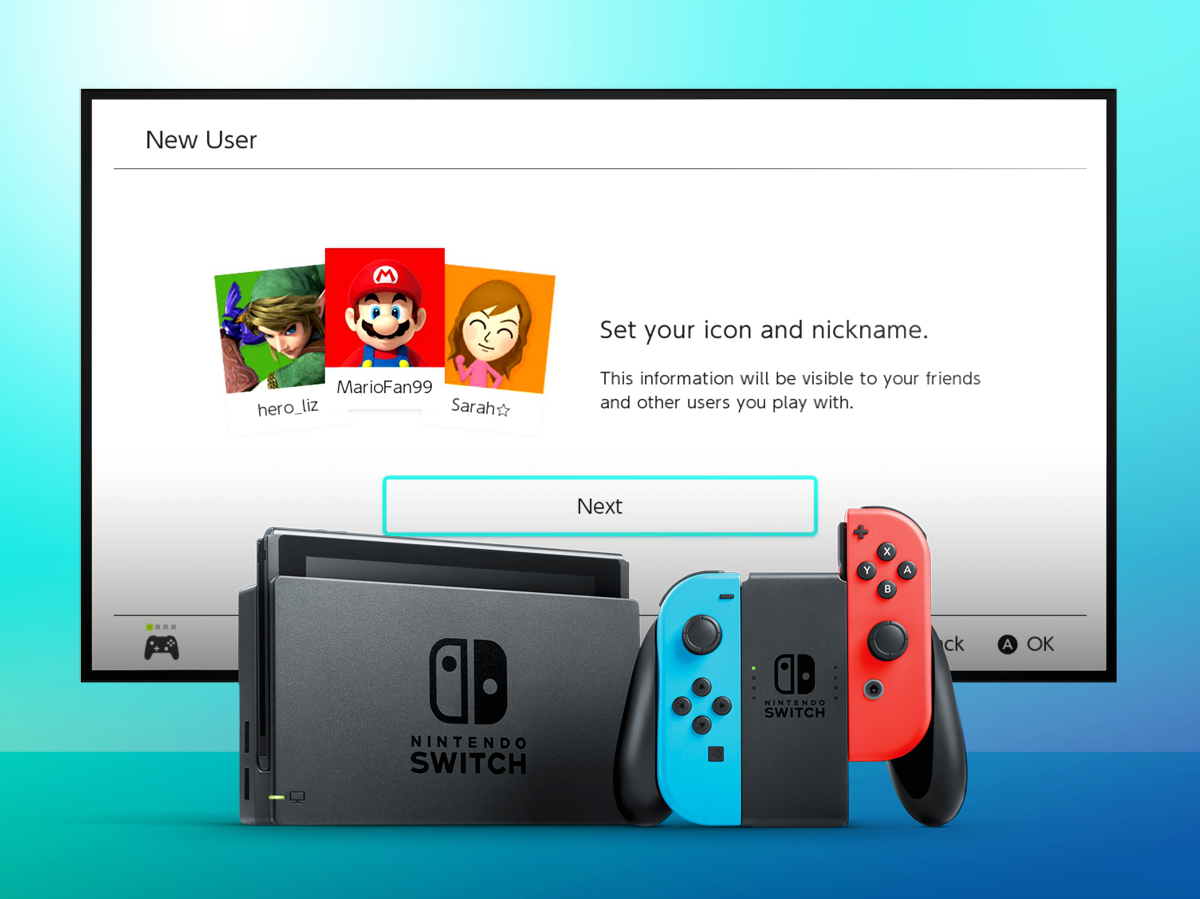
Pop over to the System Settings, then “User”, and click “Add New User”. You can do this is any mode, but all you’ll have to do is select a player icon (fun picture you think represents the player), a name, and you’re done.
You can link the user to a Nintendo ID later on, if you feel the need.
7) CLOSE DOWN A GAME BEFORE TAKING OUT THE CARD

If you just whip out Zelda and put Just Dance 2017 in, you’re going to lose your progress in Zelda. Think before you Switch!
8) REGISTER YOUR AMIIBO
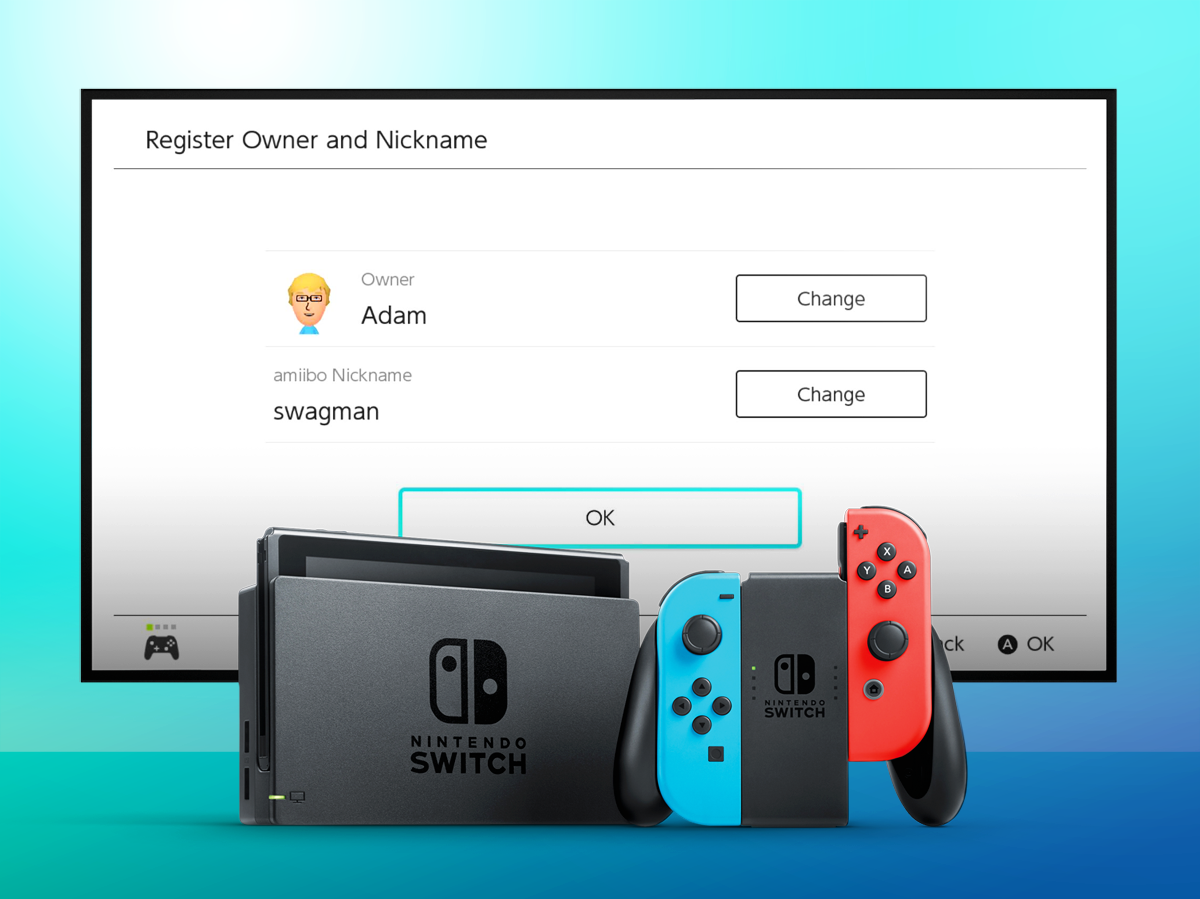
Hey, if nothing else, at least you’ll be reminded of the stupid names you or your kids gave to them on Wii U. We can’t remember who called this Splatoon Inkboy the name “swagman”, but somebody sure did.
9) CREATE A MII
Amazingly, while Nintendo hasn’t completely abandoned the Mii system for Switch, it does seem far less intrinsic to the overall console experience. But don’t let that stop you from creating one.
In System Settings, you can create a new Mii from a likeness, start from scratch, or copy one from an Amiibo. Note that this one is not called “swagman”.
10) SORT OUT YOUR NOTIFICATIONS

Thankfully, the Switch doesn’t do this (yet), but you can still be notified when your game downloads are done with a sound. You can also link to a Nintendo Account so you can get friend-related notifications. Modern social gaming!
11) LIGHT OR DARK, PICK YOUR THEME

Who knows if this means Nintendo is getting into making themes for the console, but we’d welcome a Splatoon theme, because, well, Splatoon is great.