Soon, you’ll find out if your parents love you. Or perhaps they just want you to shut the hell up and let them watch Carte Blanche in peace for once. Either way, who cares? You’re about to receive a Nintendo Switch. The why of it doesn’t matter. What matters is that you get playing on the Switch as soon as you’re physically able – whether it’s the boujie OLED model, the OG or the Lite model. That’s what we’re here for. To make the process as pain-free and fast as possible.
Setting up
First, you’ll want to turn the Switch on. That’s fine – the Switch in the box should come with the battery partly charged. We recommend that you dock it first. If you’ve got the Lite model, it might be safer to fully charge it up first before playing around on it.
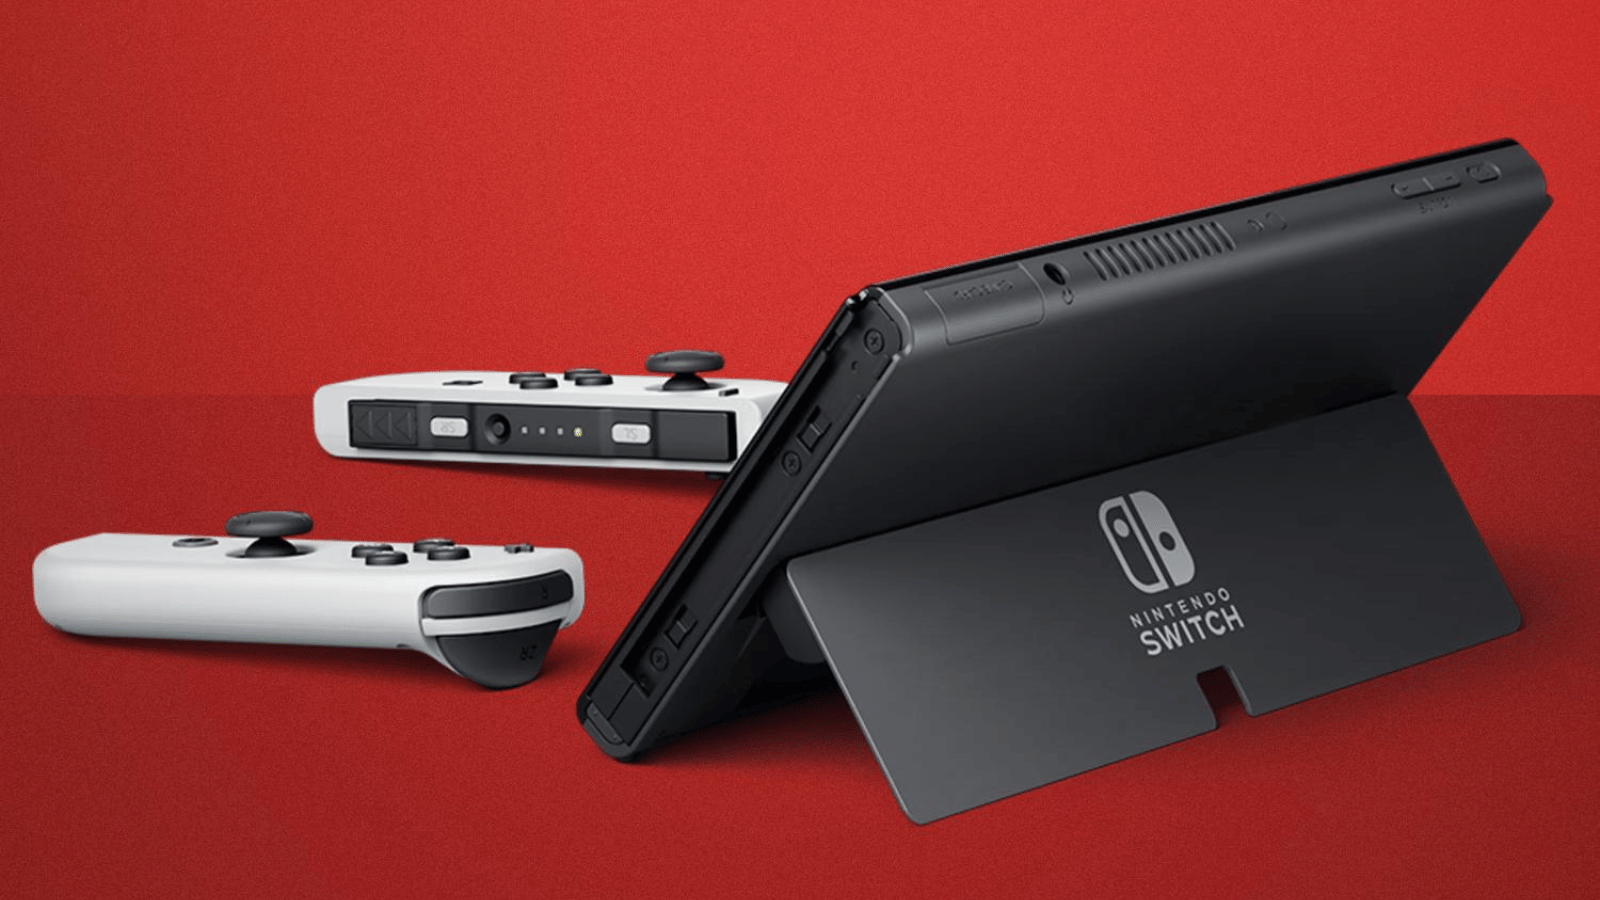
Let’s first sort out the OLED and standard Nintendo Switch players. In both boxes, you’ll be greeted by two joy-cons (the things with the buttons on them) and the screen itself. Take both joy-cons and the screen out. Or don’t. We can’t tell you what to do. But if playing is a priority you might want to follow these instructions.
Below those, you’ll find the dock, joy-con controller attachments (including safety straps), HDMI cable, and the dedicated charging cable. There’s also a manual and safety guide. But who reads those? Clearly not you, otherwise you wouldn’t be here.
Haul everything out of its plastic packaging. Next, find the plastic box that’s roughly the same size as the screen. Fish out the charging brick and HDMI and slot them into the back of the plastic box (behind the hinge on the back). We assume you don’t need any help putting the plugs in the right holes.
Next, you’ll need the screen. Find the bottom of the screen – use the USB-C port as guidance – and slot it into the dock. Grab the joy-cons and the controller bracket that goes with it (this will be useful later). Take the joy-cons and slide them onto the console and slide that collection onto the Switch’s side ridges from the top. You’ll hear a satisfying clicking sound to let you know you’ve done it correctly. The Switch(s) can now be turned on.
But first, we’ve got to help out the Lite players. The setup is quite similar to the other two models, except the joy-cons are built onto the controllers and there’s no dock to accompany your Switch. There’s only an AC adapter to keep it company. Plug that into the wall, and plug the other end into the USB-C port under the screen. Charge it up to 100% to be as safe as possible. Once that’s done, the Switch Lite can be turned on.
P.S. If you’ve got the OLED model, there’s an Ethernet port included on the dock. Plug in your own Ethernet cable for faster downloads. Make sure the other end of the cable is plugged into an internet-connected router, of course.
Turn Me On
If you have one of the dock-Switches, pull it out of the dock, joy-cons and all. Turn it on by holding the power button on the top left of the console. Follow the on-screen prompts to set up the WiFi, date/time, and set up or log into an already existing Nintendo Online account.
There’ll also be an option pretty early on to set up the Switch on a TV for the dock-Switches. Unclip the joy-cons with the small buttons on their rear and slide them off. Slide the screen back into the dock and slide the joy-cons onto the controller bracket we mentioned earlier. Lite Switches won’t have this option. At all. Sorry about that.
If you’d rather just use your dock-Switch without the dock, that’s doable too. Slide it out of the dock and the screen will automatically turn on, letting you control it from there. The joy-cons needn’t be connected in this mode either. They can be played wirelessly while the screen rests on its kickstand. Oh yeah, there’s a kickstand. On the back of the Switch, you’ll see a cutout hinge that can be pulled out to hold the console up.
To get going on the Switch you’ll need a Nintendo account. That’s what’ll sort the Switch’s games, save data, and your personal information. Add yourself as a user and you’re all set. You can add more accounts later if you plan to share your Switch at some point.
By default, the Switch will automatically be set to ‘secondary’. If playing games offline or letting other accounts play your games sounds good, you’ll want to change the Switch to ‘primary’. You can do that in the Nintendo eShop.
Buy the Legend of Zelda: Breath of the Wild (and other stuff too)
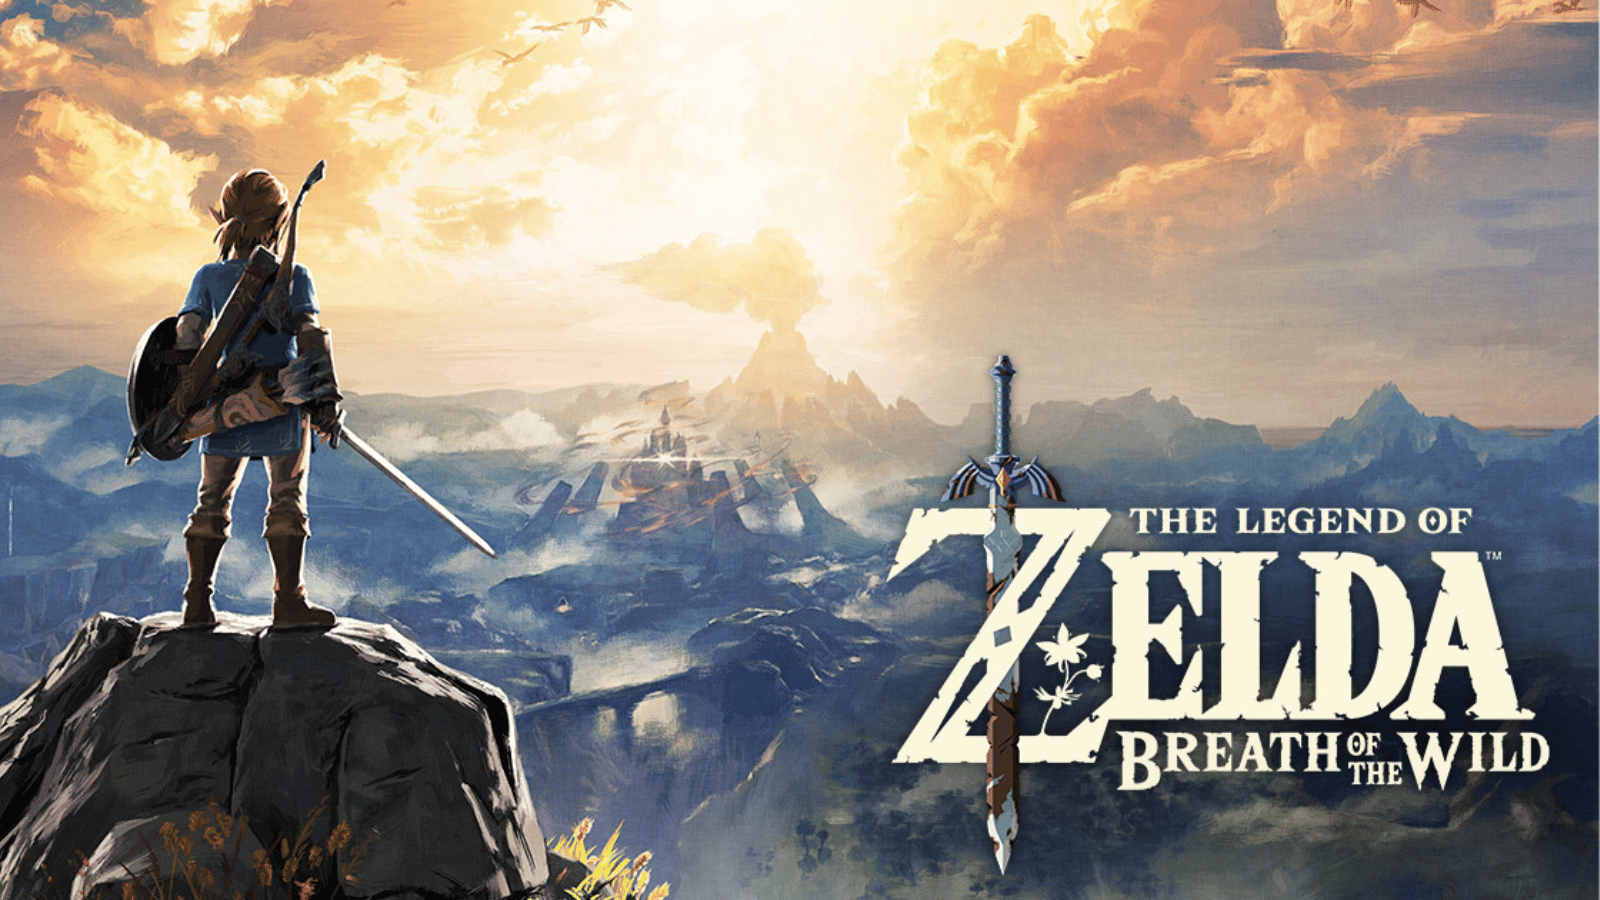
Speaking of the Nintendo eShop, this is where you’ll buy games for your console. Your local videogame store is also an option if physical media is your thing. But it’s usually simpler (and quicker) to just head to the eShop. Take a look around before buying anything. If you’re new to Nintendo however, snapping up The Legend of Zelda: Breath of the Wild or Super Mario Odyssey should be your first priority. There are plenty of other games too – like Stardew Valley, Minecraft, and a plethora of other Mario titles to get you started. The problem is paying for them, but you knew that already.
Going online
To play with your friends that aren’t in the same room as you, getting a Nintendo Switch Online subscription is essential. Most games need a subscription to play online – though most free-to-play games like Rocket League or Fortnite don’t require one. Mario Kart and Splatoon, on the other hand, need a subscription. Find the dedicated Nintendo Switch Online hub on the bottom row of the Switch’s home page (on the far left).
Fortunately, Nintendo Switch Online also offers a catalogue of old NES and SNES games for you to play (as long as your subscription stays active).
The service costs R260 for a 365-day subscription, R105 for a 3-month subscription and a month will set your wallet back R50. There is a 7-day free trial to let you get a taste before sinking more money into the Switch.
“Treat yo self” – Tom
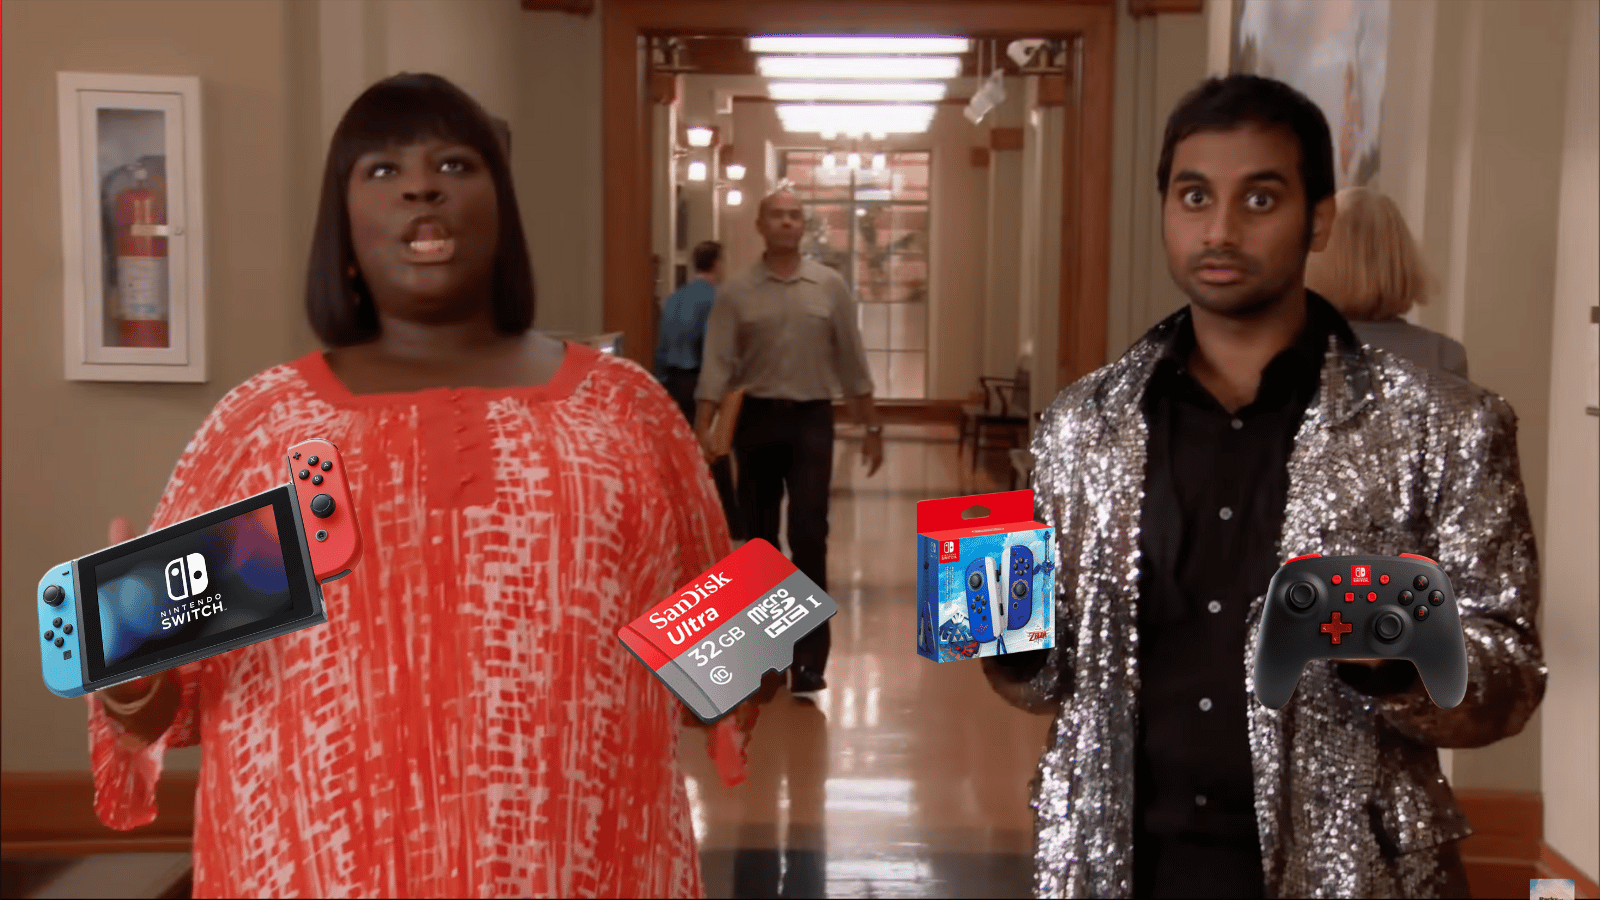
Extras for the Switch are arguably more important than an online subscription. There’s tons of stuff you can buy that should land you a spot on Pimp My Switch™. There are other more usable extras too. Like a better controller.
- Travel case – One of the most important pieces of kit to any Switch setup is a carry-case. Find one that can hold your cartridges, joy-cons, and the Switch screen itself. Some of the pricier ones will even have space for the dock to tag along.
- Nintendo Switch Pro controller – Easily the best extra you can buy for the Switch. The controller setup that comes with the Switch is… fine but the Pro controller is on another level. It shares a similar shape to that of an Xbox controller and is extremely comfortable (and rather light). It’s great for playing the Switch undocked or docked.
- MicroSD Card – The Switch’s onboard storage isn’t the best. Fully-digital gamers will quickly run out of space, requiring an extra SD card to be slotted in. Find any decent-sized Micro SD cards at the shops – (we recommend 128GB or larger). Finding an SD card that the Switch doesn’t support would be difficult, but to be safe, make sure it’s one of these: UHS-I Micro SD, Micro SDHC, or Micro SDXC.
- Screen protector – This is for any Switch user that plans to use their Switches on the go more often than at home. Lite users should get this anyway, just to be extra safe. These can be found at most game stores in the country.
- Extra joy-cons – One of the Switch’s biggest downfalls is that the joy-cons tend to drift a lot faster than most other controllers on the market. Personally, we’ve never had this problem, but it seems to be a big issue for plenty of people. Buy yourself an extra pair if that ever happens or if you’d to throw some Spiny Shells (that’s what Nintendo incorrectly calls blue shells) at your friends in Mario Kart. Our favourite pair on the market is the beautiful The Legend of Zelda: Skyward Sword edition joy-cons. Be warned. They’re pricy.
And that’s all you need to know. Now head back to your parents, spouse, or the really good friend that gave you the Switch and say thank you. Multiple times. And then come back here once you’ve spent the next 100 hours of your life in Breath of the Wild and thank us too. We’ll be waiting.


