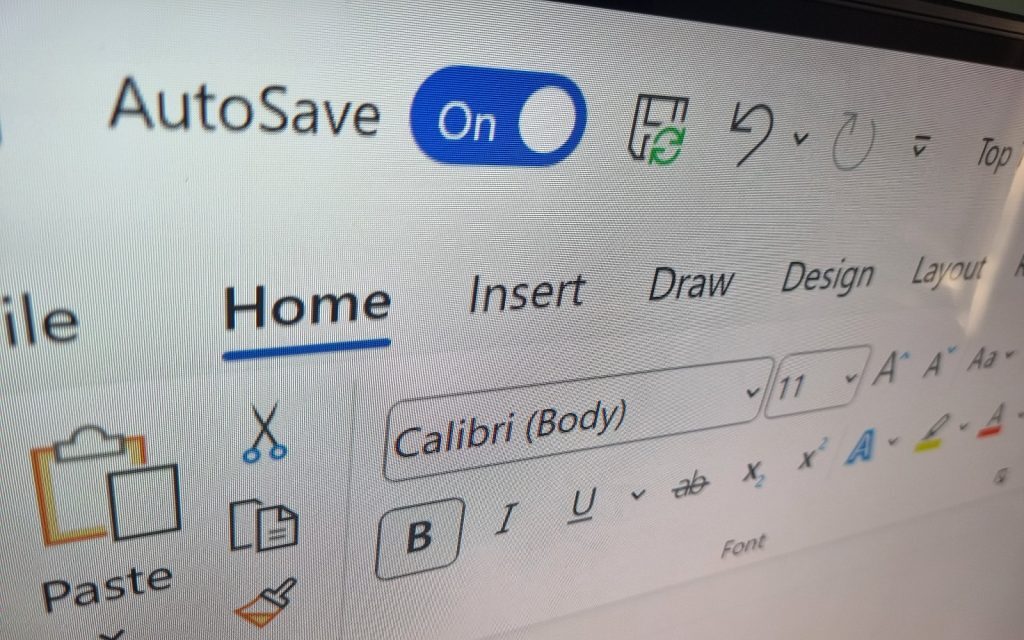
Microsoft Word is a part of everyday work life for many workers. But even if you have been using Word for years, you probably don’t know everything there is to know about the software.
So, we’ve put together five tips we discovered when trawling through the internet in search of good Stuff Business content for our readers.
Even we learned a few things about Word while researching this article, and we use Word every day!
Tip 1: Take Advantage of Headers and Footers
When you create professional-looking documents in Word, they are expected to look the part. There’s no better way to give the reader a good impression, then, than by offering them a consistent look for each page with customised headers and footers.
Populating these with consistent and nicely-formatted information like page numbers, titles, and company logos is a great way to give them that extra polish that will make readers appreciate your efforts and bosses and colleagues take note of your mad Word skillz.
You can access headers and footers on the “Insert” tab on Word’s Insert ribbon. Word also offers templates for these that you can use, but honestly, you’ll get better results if you hand-customise everything yourself.
Tip 2: Keyboard Shortcuts Are Your Friend
Using your mouse to click on things is cool and all, but what really lights a fire under your productivity in Word is keyboard shortcuts. It’s much faster, for example, to hit Control+E to centre a word or image than to find the Paragraph section on the Home tab of the Word ribbon and click on the centre button.
Here are some of the most useful (and somewhat obscure) keyboard shortcuts we found for Word:
- Ctrl+Shift+K: Format highlighted text as small capitals.
- Ctrl+] or Ctrl+[: Increase or decrease the font size of selected text.
- Ctrl+Shift+L: Apply bullets to selected text.
- Alt+Shift+D: Insert the current date.
- Alt+Shift+T: Insert the present time.
- Shift+F5: Return to the previous location in the document.
- Ctrl+Shift+S: Display the “Styles” pane to change formatting quickly.
- Ctrl+Alt+1 or 2 or 3: Change heading levels (1, 2, or 3) in outline view.
- Shift+F3: Change the selected text’s case (uppercase/lowercase).
- Alt+Ctrl+M: Insert a comment.
- Ctrl+Alt+V: Paste special (choose from various paste options).
- Ctrl+Alt+K: Apply the currently-selected Style to your document.
- Ctrl+Enter: Insert a page break.
- Ctrl+K: Insert a hyperlink (highlight the text you want to be hyperlinked first).
- Ctrl+Shift+8: Show or hide paragraph marks and other nonprinting symbols
Tip 3: Word Watermarks
When distributing documents internally, it can be very useful to include instructional watermarks that say things like “Confidential”, “Do not copy”, and “Draft”. These watermarks tell the people working on those documents how to work with them, and this can be very handy when sharing documents with team members or across the company.
You will find the Watermark button on the Design tab of Word’s ribbon. You can use the premade watermarks, or customise yours to something else, like an image, words of your choosing, or one of the many designs available via Office.com.
Tip 4: Section Breaks/Next Page Break
Did you know you don’t need to keep hitting enter to reach the next page? When you want to start a new page, it’s much better to press Control+Enter and boom; you’ll be on the next page.
The benefit of doing this is firstly that you won’t annoy pedantic colleagues that don’t enjoy editing other people’s documents, and secondly, that you won’t ruin your document’s formatting if you ever go back to the page you pressed enter-enter-enter on to add something.
Tip 5: Change Page Orientation From Portrait To Landscape
When creating work documents, it can be difficult to fit in elements like pie charts in such a way that they fit neatly on portrait-oriented pages. In this situation, it’s really handy to orient one of your pages in the landscape position to let your chart fill the page neatly and then re-orient subsequent pages back to portrait.
To do this, add section breaks before and after the page to which you want to add the pie chart. To start, use the keyboard shortcut to show or hide paragraph marks and other nonprinting symbols (Control+Shift+8) so you can see where the section breaks are. Then, when you’re on the before page, create the section break by clicking Breaks->Next Page on the Layout tab.
Create another page break so that you have two new pages. Now, go back to the first blank page you created with a section break, select Orientation on the Layout tab in the ribbon, and choose Landscape. Now, you can add your pie chart to the landscape page and impress everyone with more of your mad Word skillz. All subsequent pages will be oriented in the portrait position.
More to come
Five tips is a good start but there’s much more to cover, so we’ll be adding even more tips for Microsoft‘s excellent word processor in the coming weeks. Keep an eye out!
PS: We know these won’t necessarily change the lives of everyone who reads this, but they definitely could for the right person! So #sorrynotsorry for the headline.


